February Flowers 2022

For the past few years, I’ve been doing the February Flowers challenge started by Amanda Evanston. This year, I wanted to make a cohesive collection and something in a style that felt like mine. Last year’s flowers all felt very different from each other, and it was a tremendous opportunity for me to stretch and try new things. I learned a little about what I like and what I don’t like, and what felt like mine and what didn’t.

For this year, I knew that I wanted to do flowers, and I had ideas about incorporating flowers with other things that I was thinking on, like water and boats, inspired by my recent shrimp boats (Instagram Link to Shrimp Boats Post). I wanted to do my best to follow the prompts, but knew that there would be some days I would be challenged. And I honestly don’t know how I got to the idea, but I landed on creating flowers inspired by pictures of friends and family. The idea was that if I had a picture of me and three friends, I would paint four flowers that resembled us in the picture, one flower for each of us. And that’s what I did for the whole month (for the most part). I really felt this collection, it made me SO happy to create, and I loved creating or sharing a story with each painting. And I named these paintings, which I’ve never done before.

My first flower of the month, titled “Sister Friends” :Instagram Link with Background

And a few more of my faves:

“A Family Affair” – instagram post – Instagram Link with Background
“A Friend to This Sister” : Instagram Link with Background

Hydroflasks

I made my kids custom hyrdroflasks for Christmas this past year. They seem to love these liquid containers, and I wanted to do something special for them and create something unique. Recently for my daughter’s graduation, I wanted to make her and her friends something that they can take with them when they go off to school that reminds them of home. So here they are.

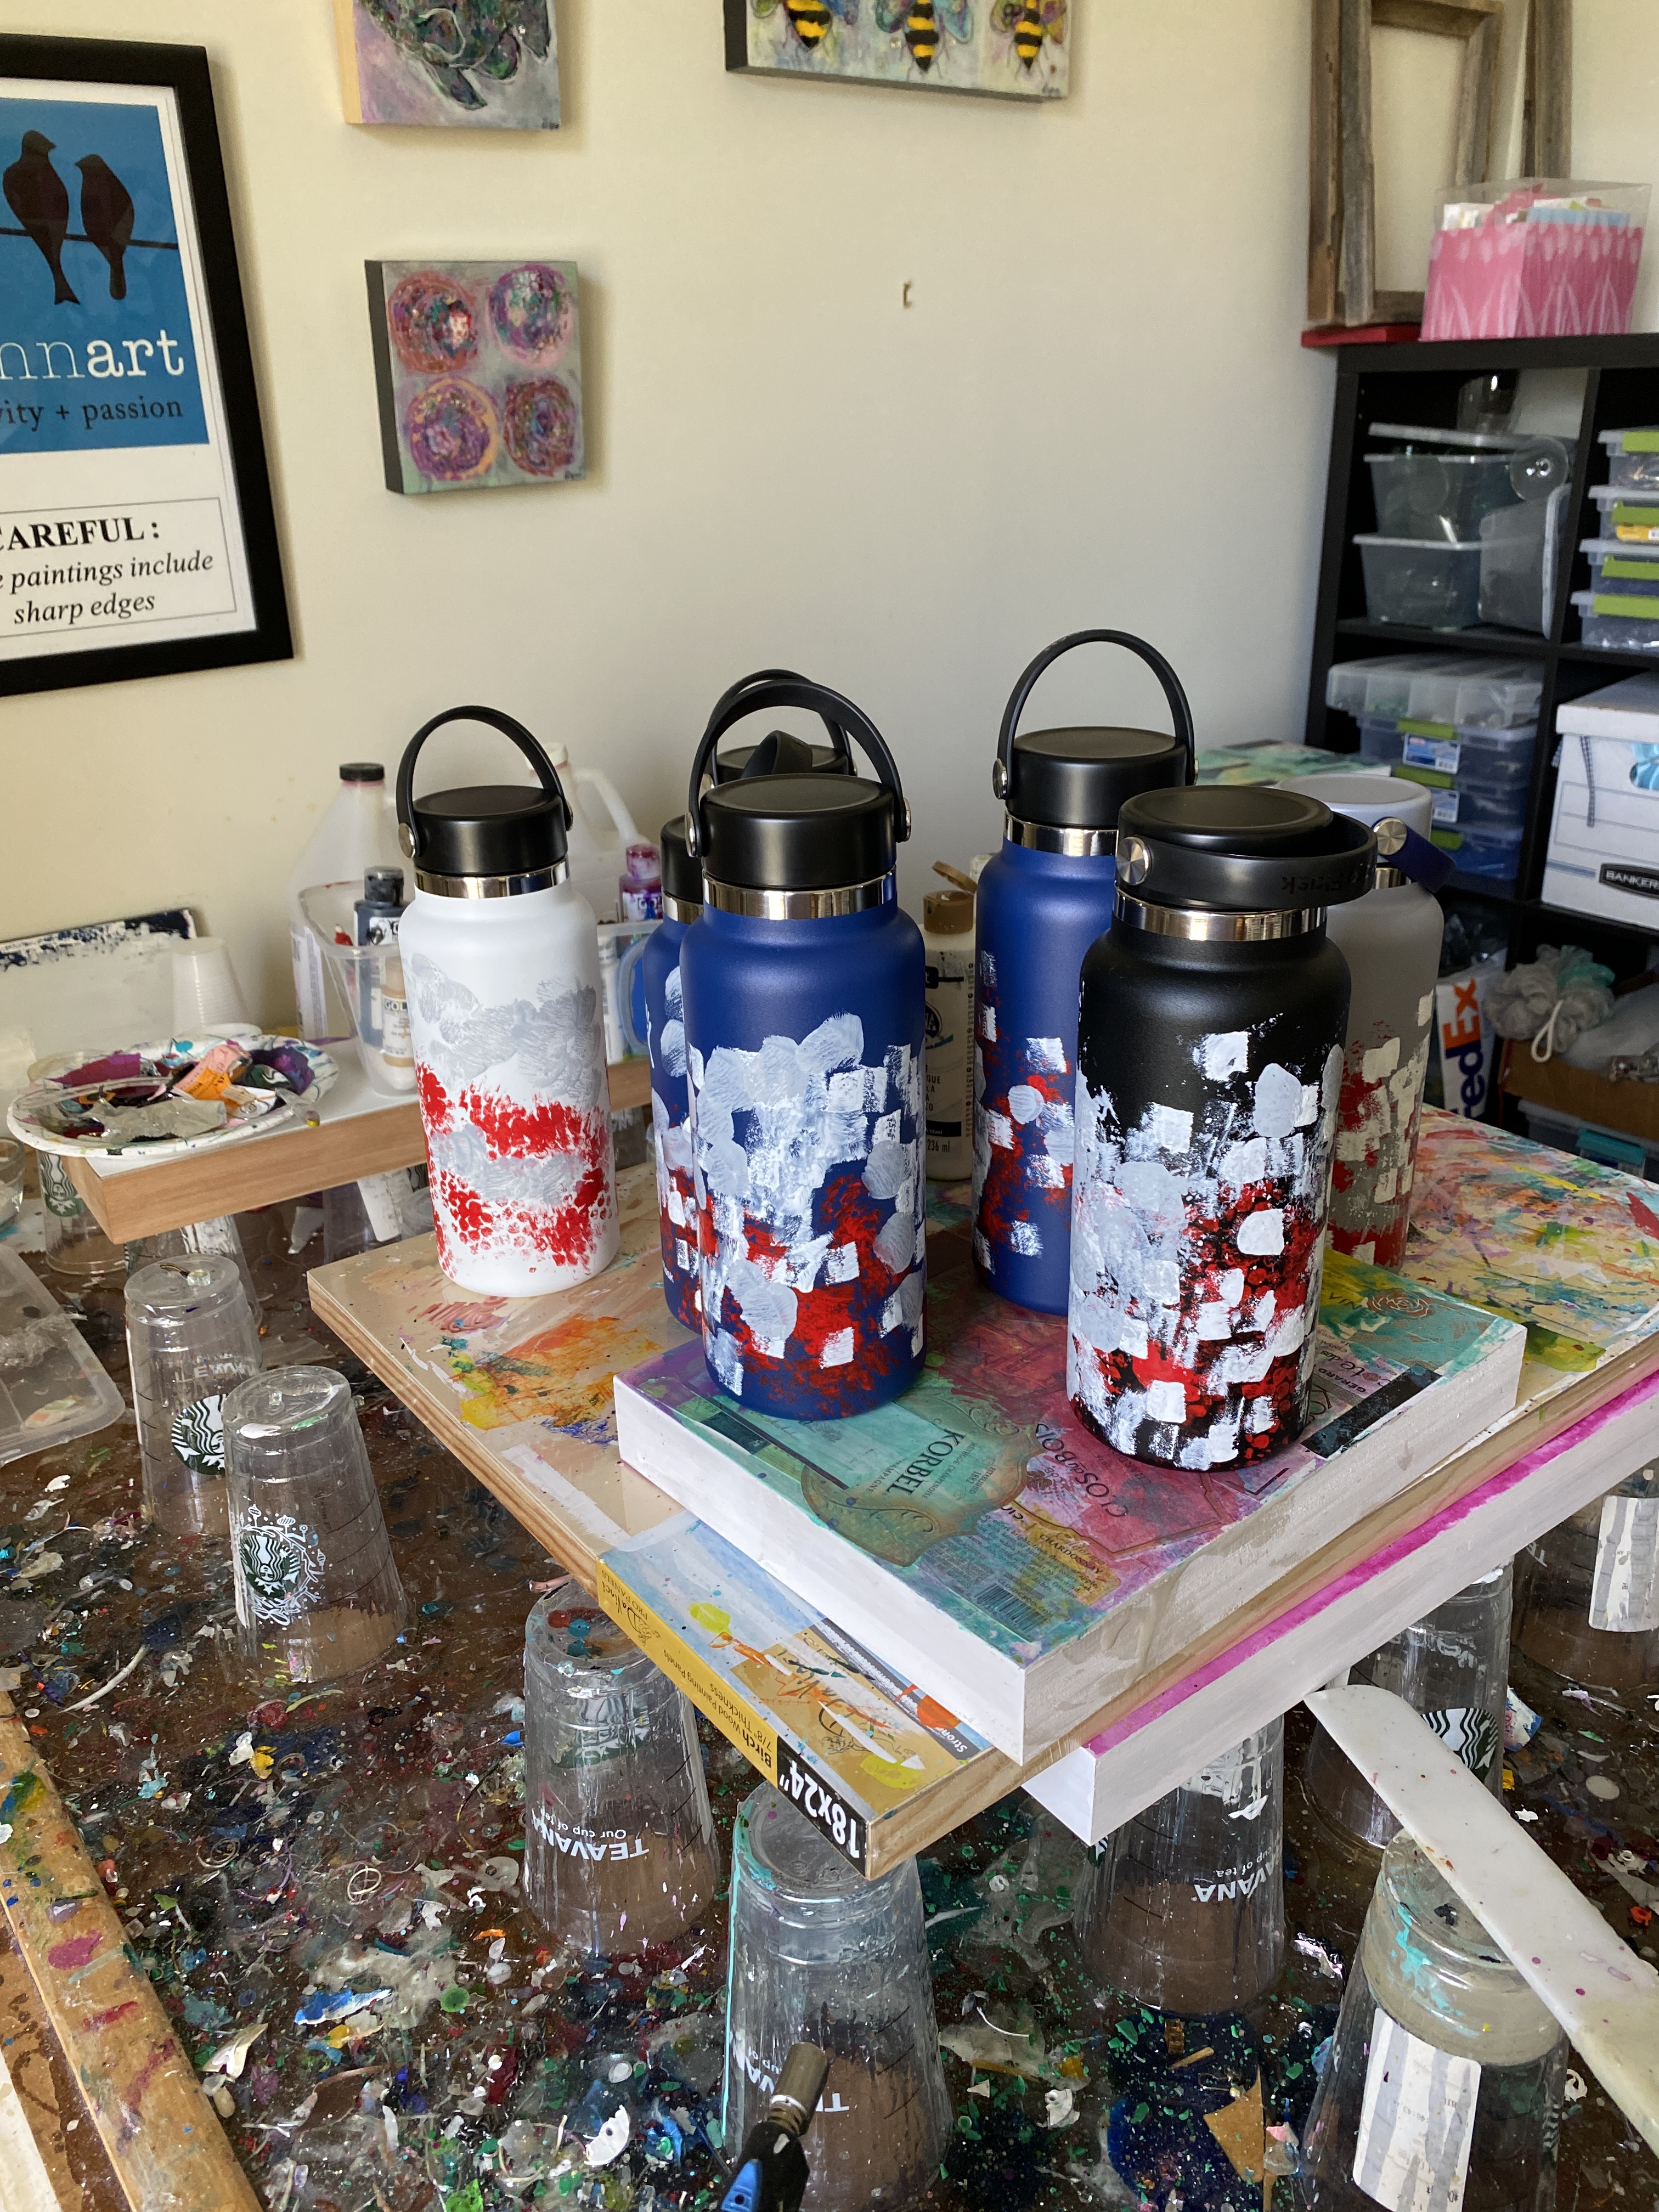
I started by creating some marks on the flasks. Because I didn’t plan ahead, I wasn’t able to get all white flasks which is probably what I would have done. More like a blank canvas. I ended up with navy blue, white, black and one gray one.

61056636329__55df4bb9-0495-46be-8c76-23db85504fab

I used all kinds of things to make the marks, bubble wrap, paint brushes, the ends of paint brushes, paper towels, and maybe some other things. As you can see, they really don’t look that great just yet.

After this layer, I did a layer of light blue, then the red on top. The red was done mostly with small bubble wrap. Once that dried, I did some marking around the edges of the red in gray and white to create some more depth.

img_3369

These are ready for the Memphis bridge to be painted on top. Once I painted the bridge, I used stamps to print out ‘memphis’ on the front by the bridge, and for most of them, I did their initials on the other side.

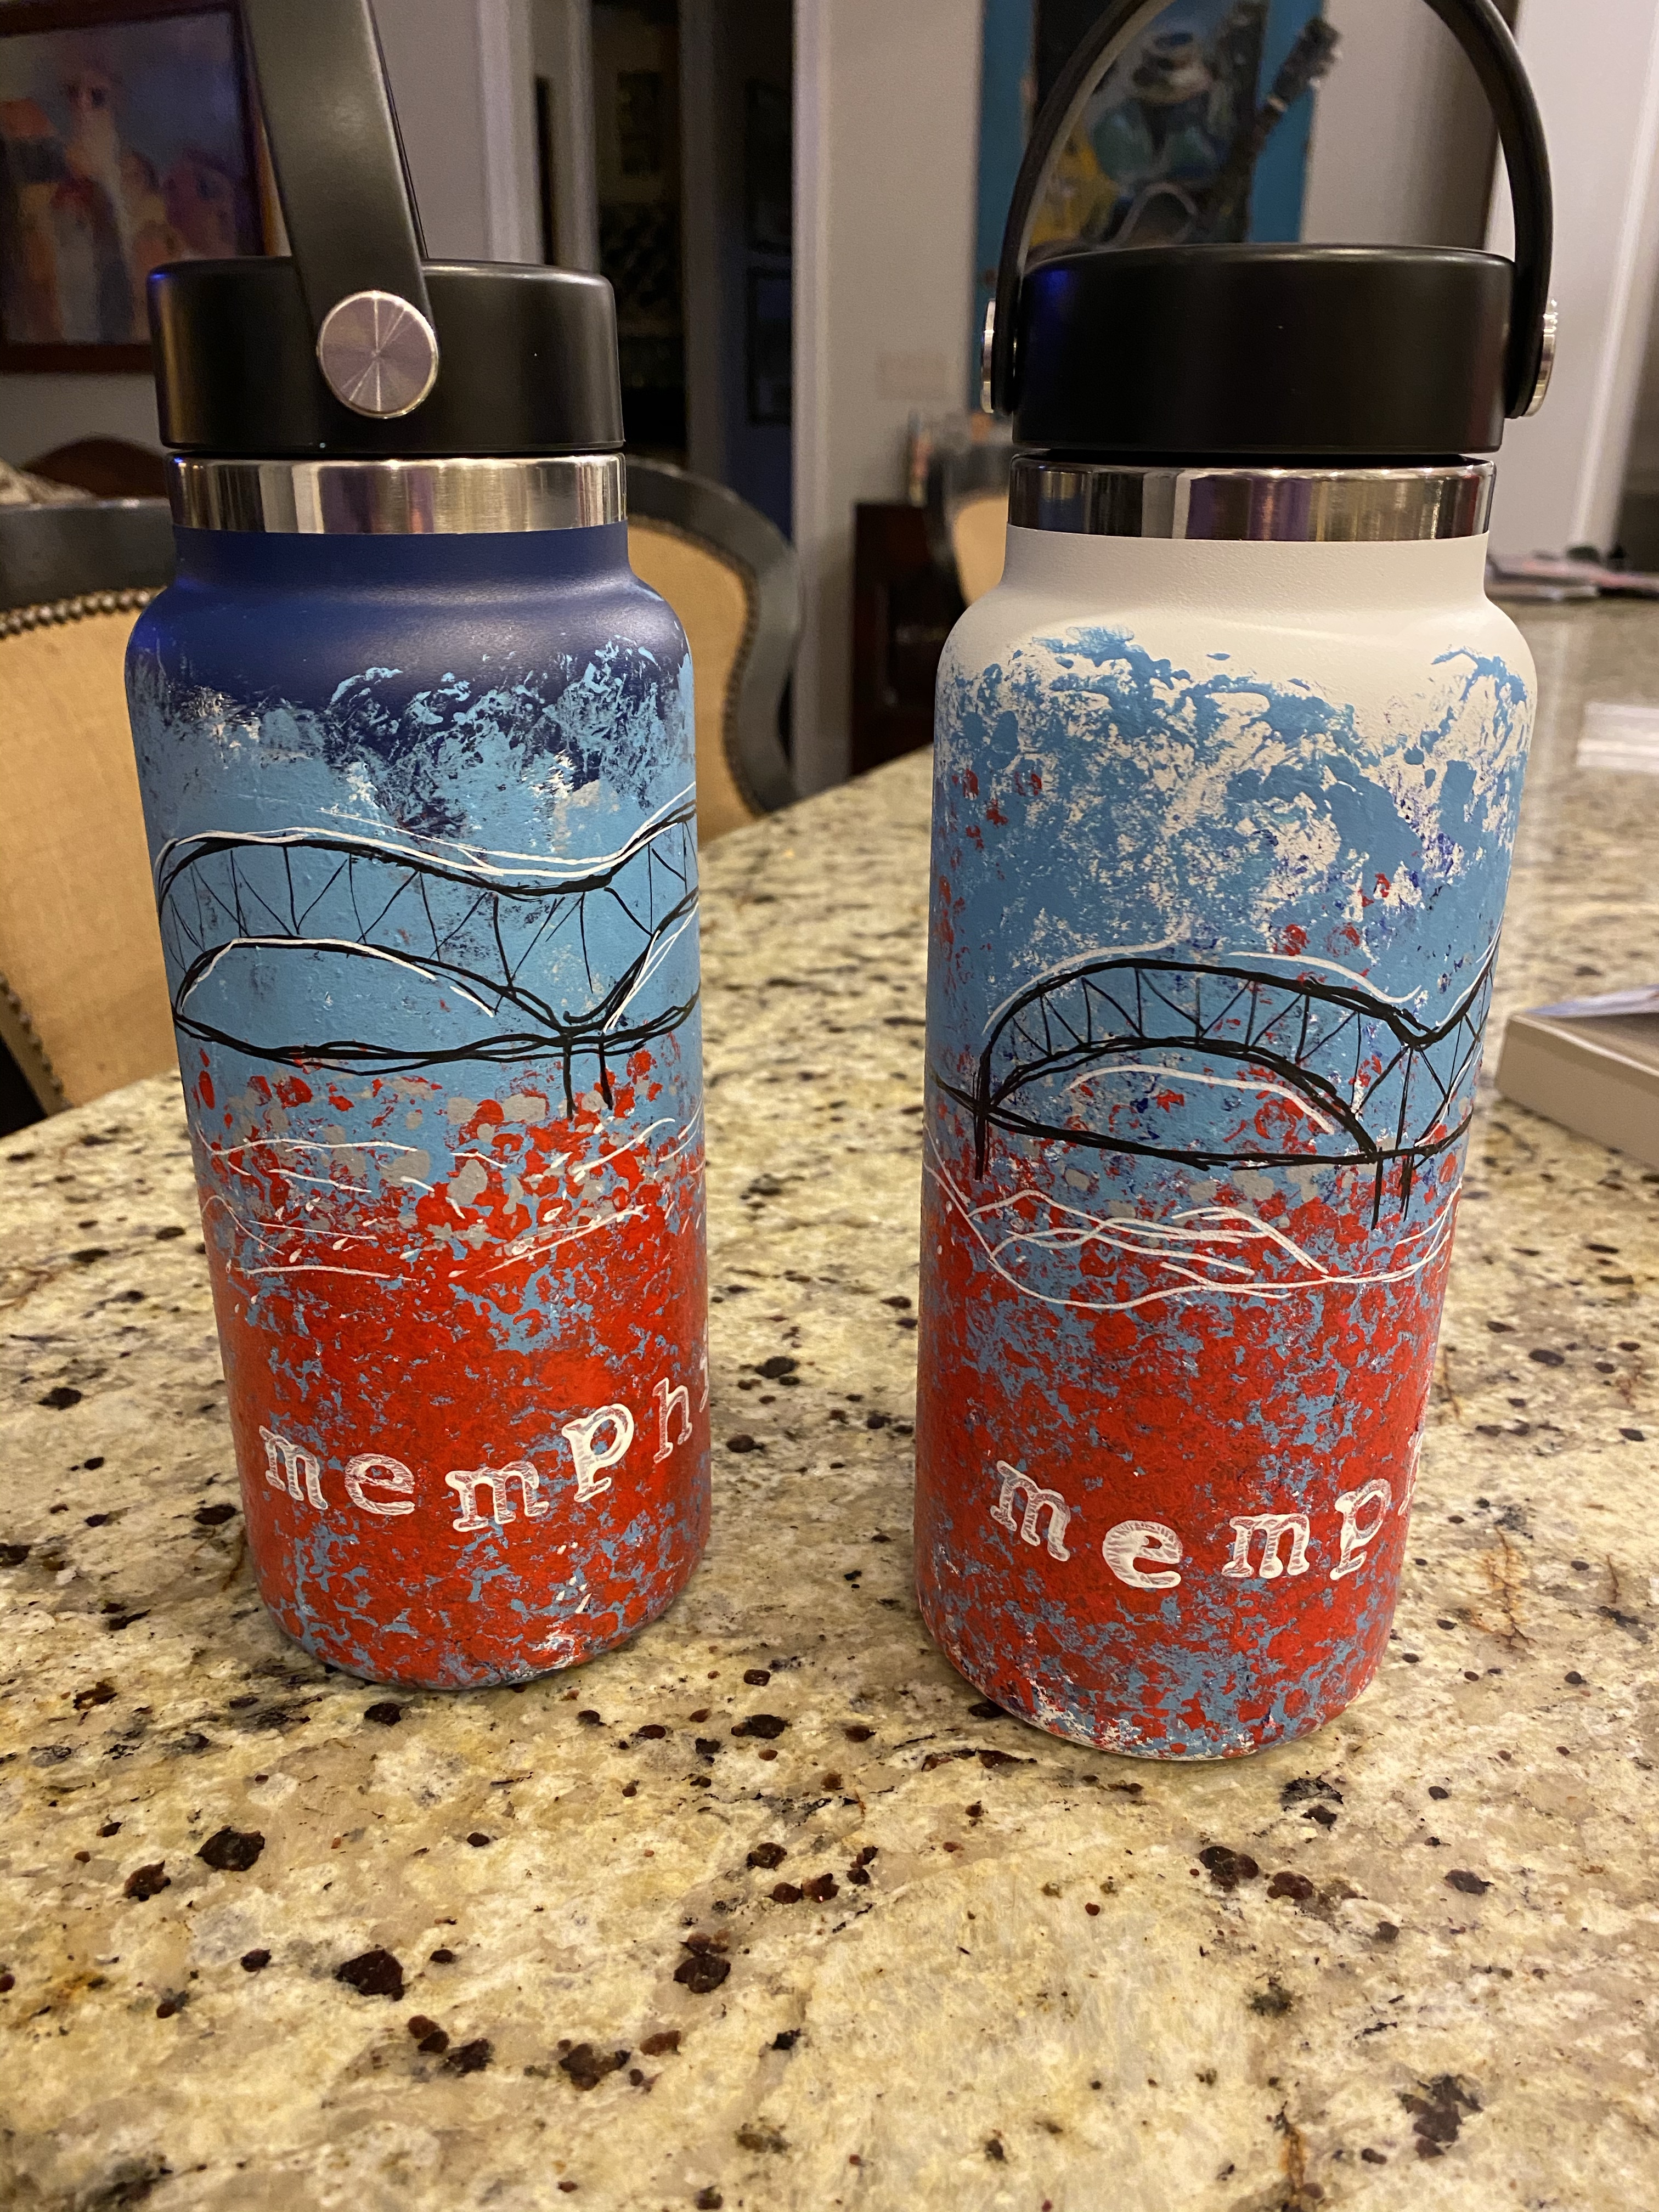
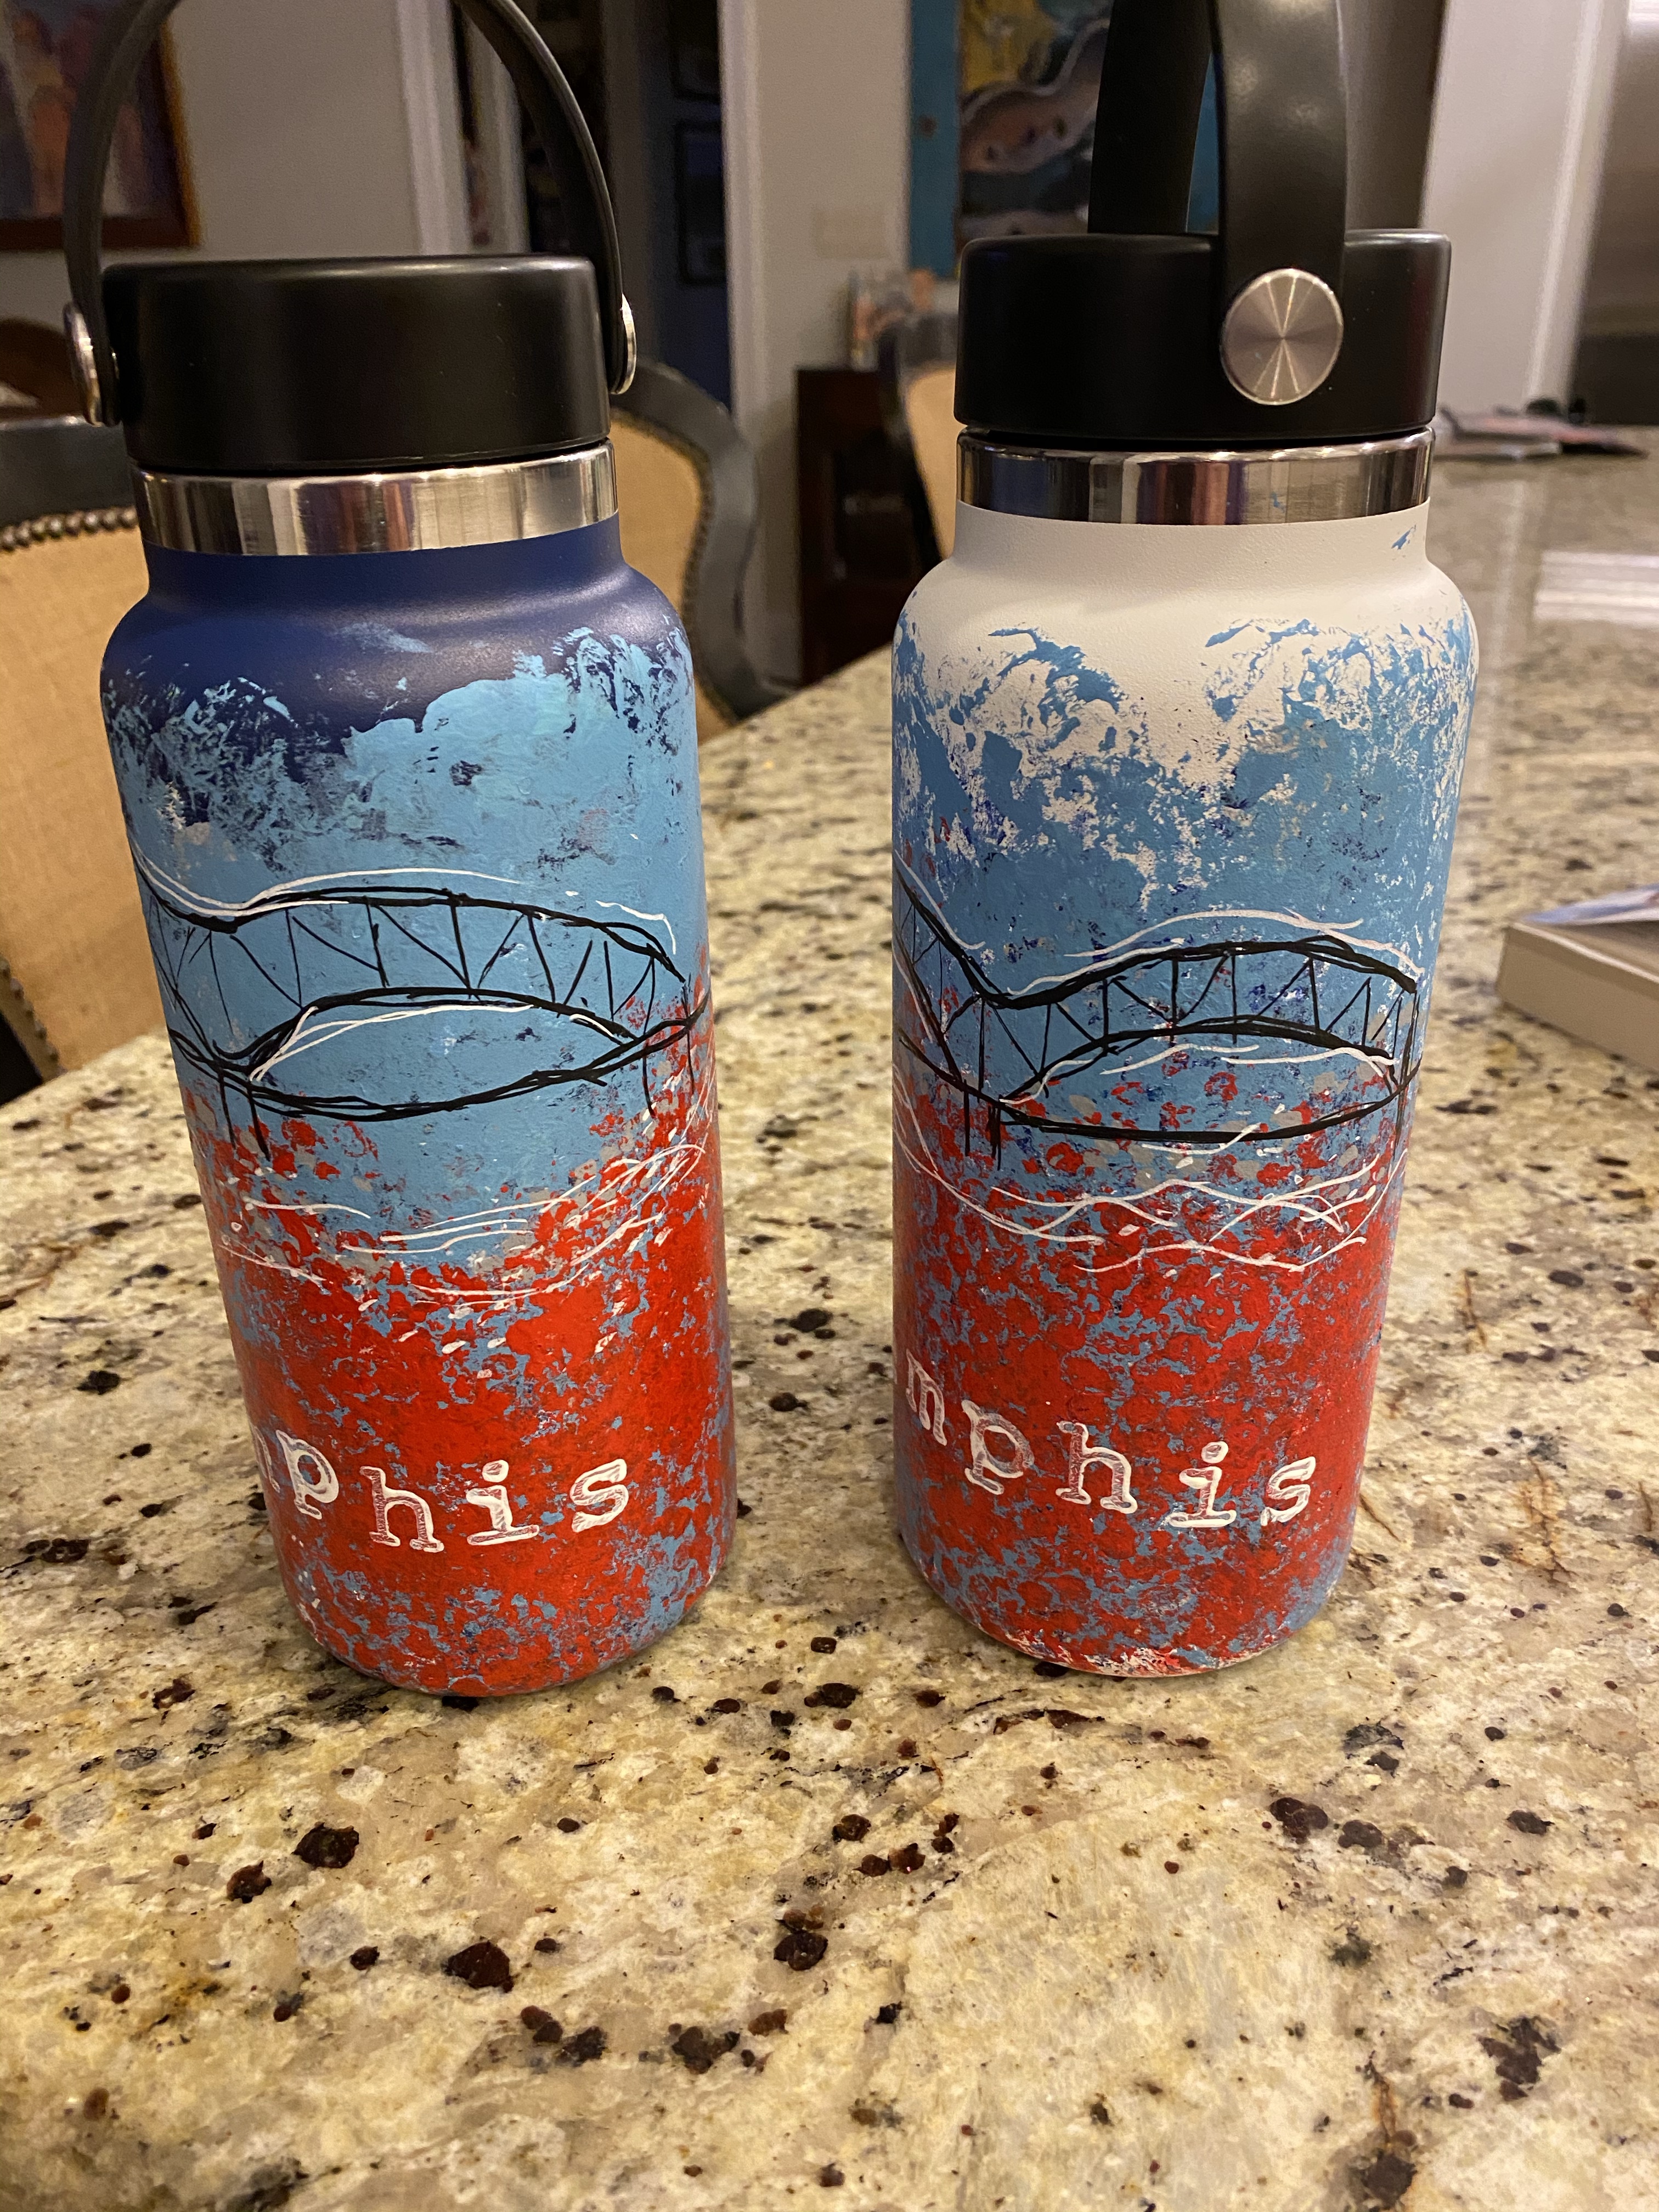
A couple of the final product:

img_3365
img_3365
img_3366

These two don’t have the sealer applied yet. The sealer makes them super shiny and my beautiful daughter made sure they were shiny. She researched what was needed and went to the store to get it. So much better than the finish I had planned on.

Materials used: hydroflask, fluid acrylic paint, Posca paint pens, Mod Podge clear acrylic sealer.

Resined Wildflowers

I’ve been making art for about ten years now. To say it’s been an evolution is an understatement. What I make changes so very much, and sometimes often!! I’ve never done a great job with painting specific things that exist in real life, so when I found an online class (https://www.amandaevanstonlearning.com) to take where I would learn to make beautiful abstract-ish flowers, I was all over it. I took the class and already bought a second one.

I continue to apply what I learned in the first class to what I make, but I still like to use the class (and instagram videos which is where I learned about these wildflowers) as an influence and not replace my own style with it. This group of poppies / wildflowers seems to do that as a mix of the abstract flower style and my glass / resin style.

The paintings were a commission to be given as teacher appreciation gifts. 16 of them!! They are on 3×9 wood panels and are coated with resin including some glass accents. You can see the reflection of the resin in the shiny pictures. For this group, I lined up all 16 then painted them like one big paintings. You could consider the 16 of them together as a puzzle :).

Champagne and Flowers Please


My big inspiration for this painting was a champagne bottle. I had dinner earlier this year in Tampa, and we shared a bottle of champagne. I was in love with the bottle, so I packed it in my bag and took it home to Memphis with me. I was also inspired by some very colorful paintings I had seen on Instagram. I have been making so many paintings lately that have some bright colors, but mostly neutral backgrounds. So I wanted to do something a little different. So I started with a fantastic empty champagne bottle, and a vision for bright colors, this time choosing purple and a shade of blue.


Varying shades of flowers in pink, big hydrangea type flowers. I mixed pink with purple and a little white for the lighter colored ones.


The last step before the resin was the glass accents. I already had what I would use for the base, but what else? I started putting some crushed pink glass on all of the flowers, but I didn’t like it! I then tilted the panel up to get the glass all off at once, and it pooled at the bottom by where the vase went. I put the vase down on it, and I loved how it looked. So the pink crushed glass stayed. I also ended up stacking it up a bit, and using the resin and the crushed glass to hold the vase down.

This painting will be auctioned off a school auction in the coming weeks. I hope whoever buys it loves it as much as I loved making it!

My Studio

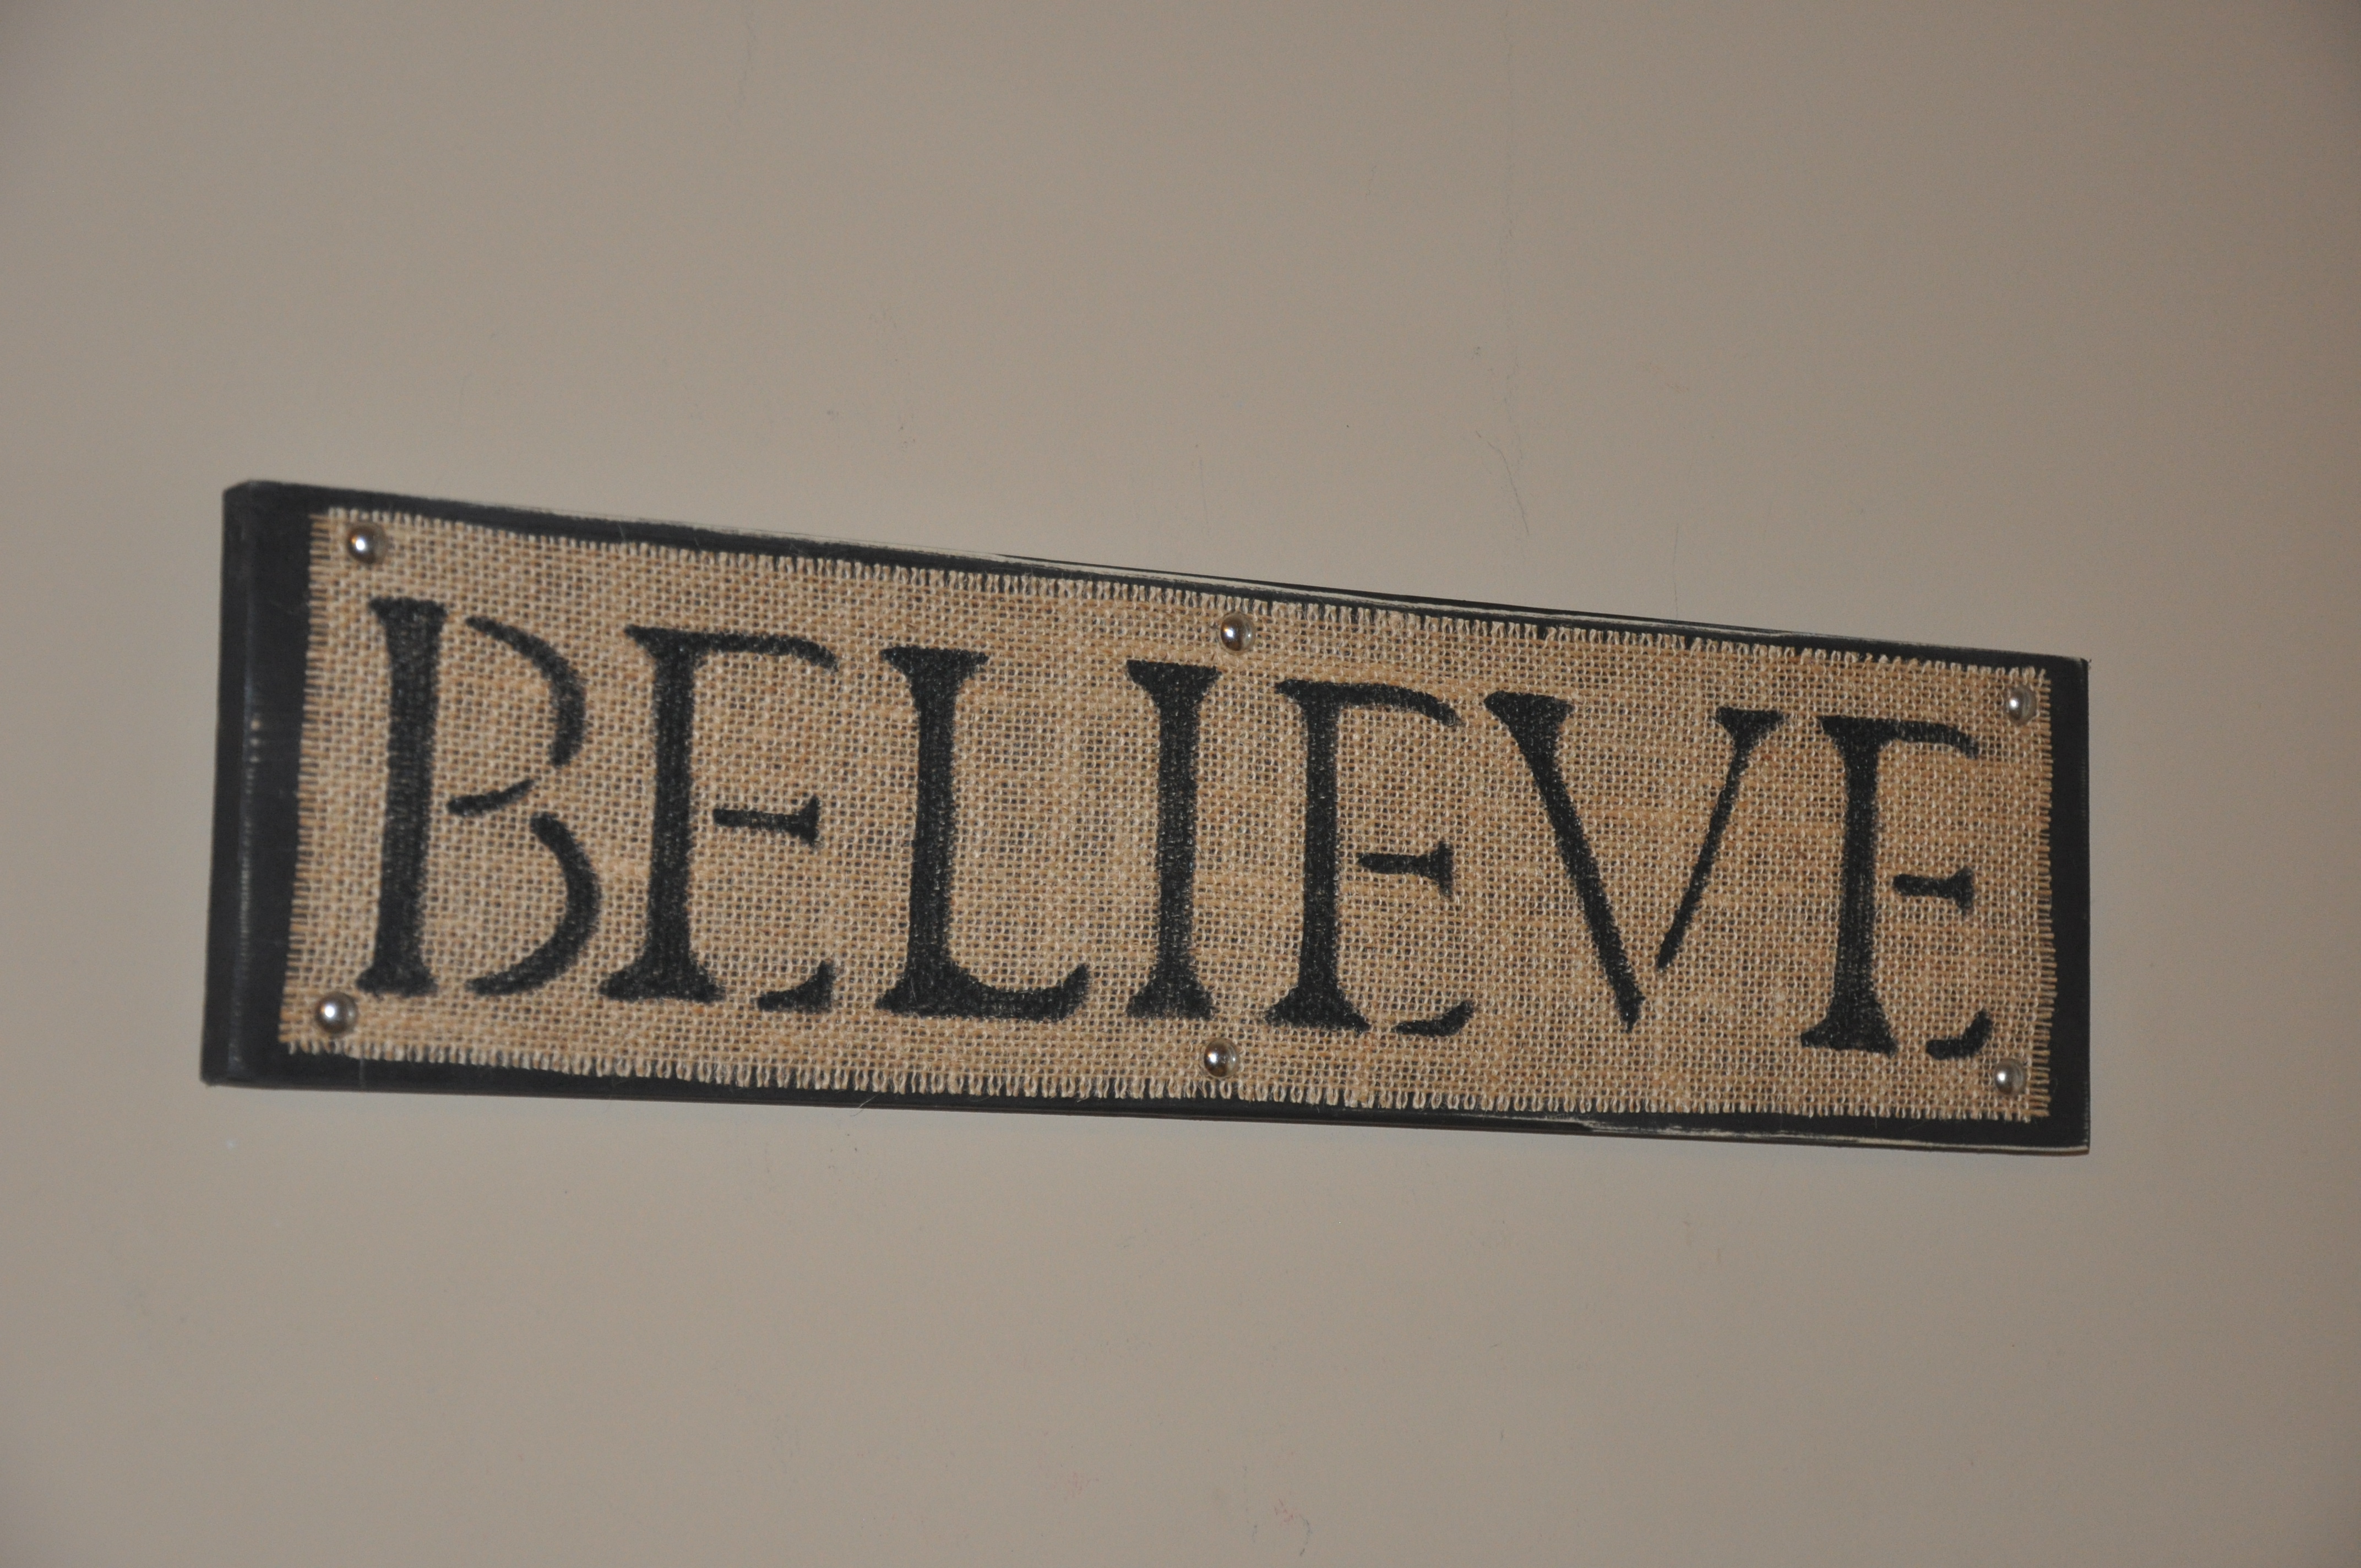
My art has evolved fairly dramatically over time. I used to do a lot with wood and burlap, but I don’t do as much of that any more. Who knows when I will start back up with it, could be any minute.

At some point in the recent past, someone said – I’d love to see what your space looks like. So, I figured I would share. I have days where I’m pretty proud of what things look like and how I’m organized. I won’t say today is one of those, but I would say I’m pretty ok with where things are today.

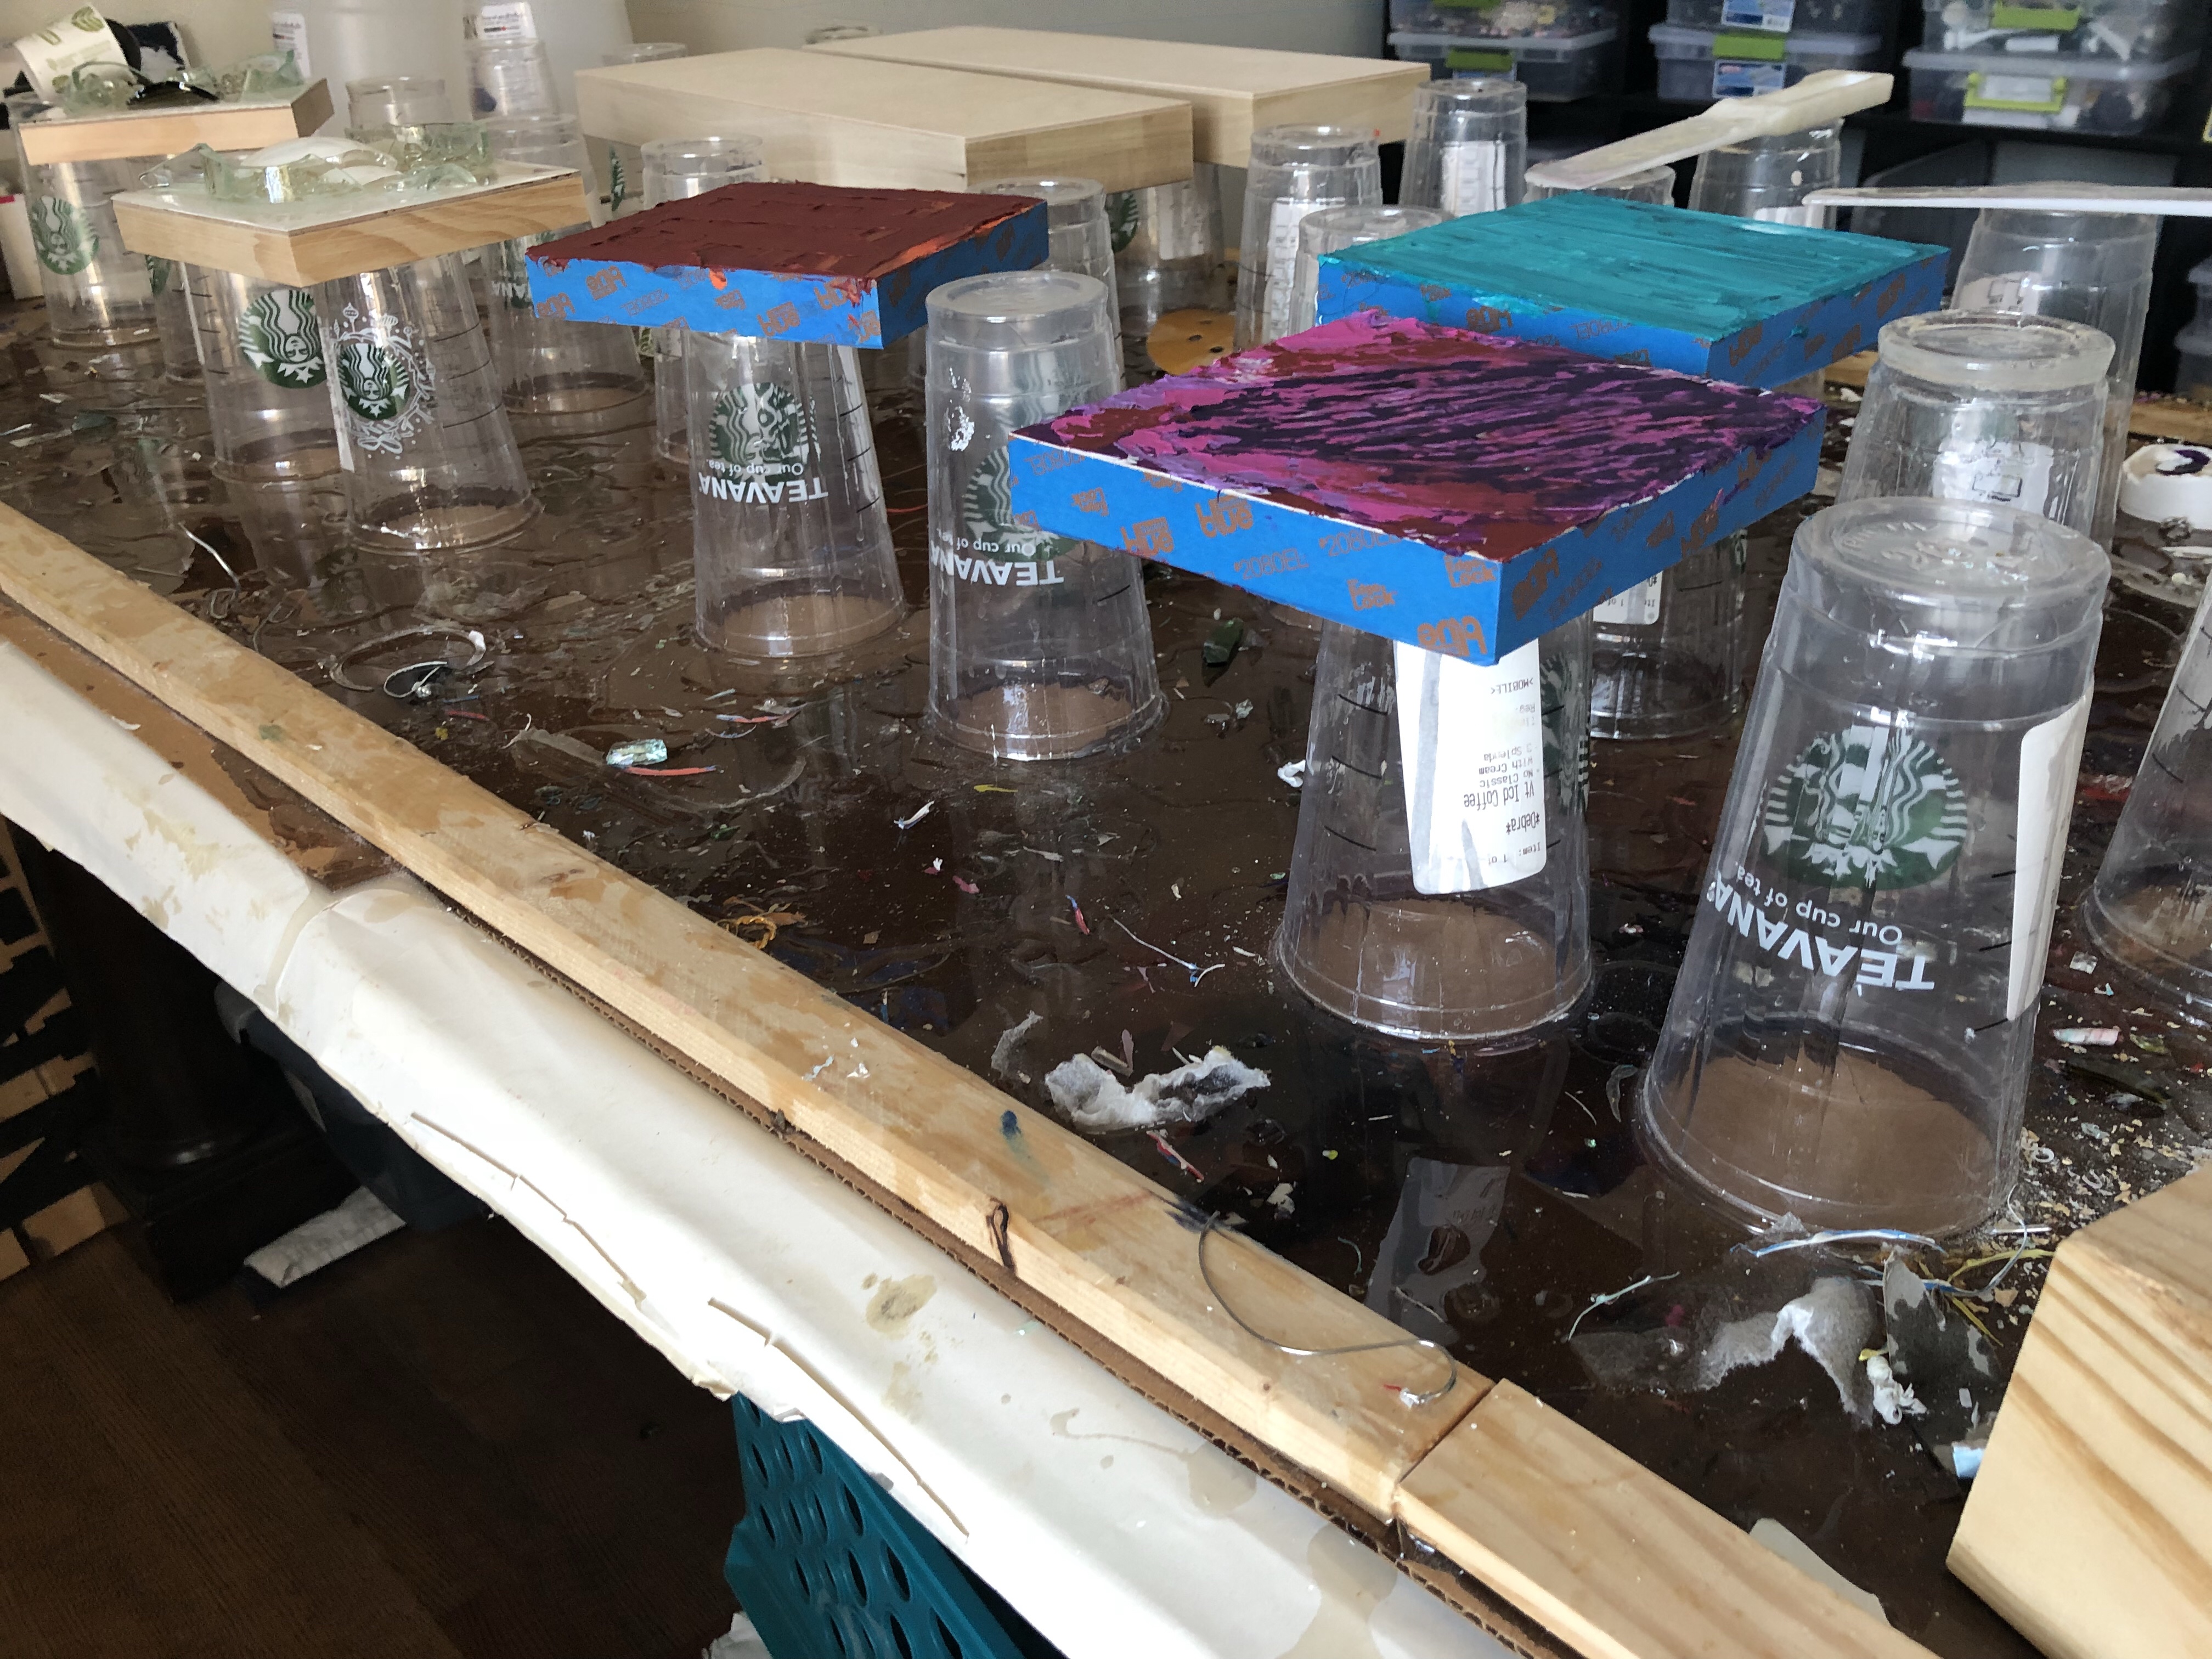
Here is my drying / resin / painting desk. It’s made with empty Starbucks cups and heavy duty cardboard. Hopefully when I’m ready to change the cardboard, it’s not horribly stuck to the desk.

img_5261

At this point, these cups are never coming off of the cardboard. But I’m so happy to have gotten so many uses from them! I’ve got a few canvases on top that I’m working on, and in the top left corner, there are a couple finished angels that I haven’t put away yet.

Against the walls, I have two storage units where I keep all of my materials – paint, glass, old jewelry, canvases and whatever else I am using. I’m kind of neurotic when it comes to the plastic bins. I love storing things away and finding a home for everything. Right now, I’m also storing some finished products in crates on these shelves. I use the crates to move things around for shows, so leaving them in the crates saves a step for me.

And the walls!! I’ve started hanging my art on the walls to save space. Hopefully I sell so much of these I never fill the walls up entirely, but I’m loving having the walls filled up right now.

Here are a few more close ups of my supplies:

Enjoy!!!

Social Media Part 1

I am now posting on facebook and twitter.  Easily 20 times more than I used to.  Or even 100 times more.

I have to admit, it’s not always me.  Is that wrong?  I hope not, because I love what I’m seeing.  There’s so much great interaction going on, and the give away was so much fun!  I would have never done that give away on my own, and I had an absolute blast doing it, and can’t wait to do more.

I am a little awkward when it comes to posting.  I’m kind of phobic, I’m afraid nobody will respond or there won’t be any clicks or the interaction won’t be there.  But if someone else is doing it, it lets me sit back a little and watch what works and doesn’t work.  So, this is easier for me.

So I’m getting help, and also doing some on my own.  Here’s what I’ve learned so far:

  • It’s ok if nobody comments or responds to a tweet or post.
  • It’s ok to get help (isn’t it?)
  • Be positive in your posting
  • Watch what time of day you get the best interaction
  • Don’t post the products you are selling too much.  Make sure you’re interaction is more than just selling.
  • Share information about yourself.
  • Give aways are fun!  Like my facebook page (www.facebook.com/dlynnart) or follow me on twitter (@dlynnart) to see what the next one is

This is all so far, but I expect to learn much more, so stay tuned…

How to Make a Burlap Sign

One of my biggest sellers previously was burlap signs and letters. I don’t make them any more, but that’s all part of the evolution. 🙂

Here’s how I make them (revised):

Making the burlap part:

  1. Start by printing out what you word or letter you want in font you want it in. Note that when you create something in MS Word, you can change the font beyond the options that are available. Like you can manually type in 200 as the font even if it’s not in the list.
  2. Once printed, if it’s really large, you may have to tape the pages together. Note that you can’t go too big with the fonts or you end up with a puzzle in the end and it could be unusable.
  3. Trace the outline of your word or letter with a Sharpie marker.
  4. Iron a piece of burlap that will cover the outline you have created and cut it if necessary so there is plenty of room around your word or letter. Leave some room so you can trim it if needed. Note that if you cut too close to the letter or word, you won’t have any room for error.
  5. Place the outlined paper underneath your ironed burlap.
  6. Trace the outlined word or letter (that you can see through the burlap) with your Sharpie marker. Once complete, you should end up with an outlined word or letter on your burlap.
  7. Leave the paper underneath the burlap and paint inside the outlines using black  acrylic paint. Cover the outlines. Move the painted burlap to a cardboard box or some other surface after painting, but before it’s completely dry, otherwise it will stick to the burlap and you’ll have paper bits on the bottom.
  8.  Set aside.

Preparing the wood:

  1. Using the measurement you’ve determined, cut your wood.  You can buy wood at Home Depot or Lowe’s and ask them to cut it for you if you already know what size you want.
  2. Sand the wood to remove all jagged edges left from cutting.  I use an electric disk sander and usually spend the most time sanding the ends.
  3. Paint the sanded wood with regular paint using the color of your choice.  I typically use two coats of paint.
  4. Sand the painted wood to distress it.  I sand some areas down to the wood to give it a distressed look.
  5. Seal your wood with varnish.  I use a spray varnish.  I know its cheating a bit, but it is easier to clean up for me.

Putting it all together:

  1. Place your burlap on top of your finished wood.  Center your word on the wood and trim around the edges.
  2. If a fringed look is desired, pull some of the threads off of the burlap.
  3. Spray the back of the burlap with spray glue.  Don’t use too much, just enough so that it sticks to the wood.  For smaller signs, this step may not be required, but I eventually started doing this for every size.  On bigger signs, the burlap starts to sag a bit away from the wood.
  4. Using upholstery nails, nail the burlap to the wood.  If you make a mistake in placing the nail, use a knife or something else to pull it back up and re-position it.  Make sure to pull the burlap evenly when placing the nails to avoid any buckling of the burlap.
  5. Once nails are in, use a spray varnish to seal the paint to the burlap and the burlap to the wood.
  6. Nail in a sawtooth hanger to ready your sign for hanging and you’re done!


Read on only if you want to see how much I learned over time…

This is my old method (I stopped using it somewhere along the way as the cutting was just a pain in the butt):

  • Start with paper, pen and a stencil.  I like to use letters that are about 3 1/2 inches tall.  The size of the letter matters as it dictates the size of the wood required.
  • Draw a line on the paper with a pen.
  • Stencil your letters using the line as a guide.  Remember to evenly space the letters.
  • Use an exacto knife to cut out the letters.  I have a cutting board that I use beneath the paper.
  • Measure the template you have created to determine the size of wood required.  I like to leave at least one inch on either side, maybe two.  If my template is 12 inches, I will use a 14 – 16 inch piece of wood.
  • Cut out a piece of burlap that will leave an inch all the way around your word or words.  If my template is 12 inches wide and 3 1/2 inches tall, my piece of burlap will be 14 inches by 5 1/2 inches.
  • Iron the burlap.
  • Take the template and place it on top of the burlap and paint over it.  I use acrylic paint, I couldn’t get the spray paint to work without it leaking onto the rest of the burlap.  Don’t put too much paint on at once as it may leak around your template.  I put just enough to show me where the letters are.
  • Take the template off and touch all of the letters up.  If you have painted just enough, for the outline, you’ll need go over each letter.
  • Set aside