Hydroflasks

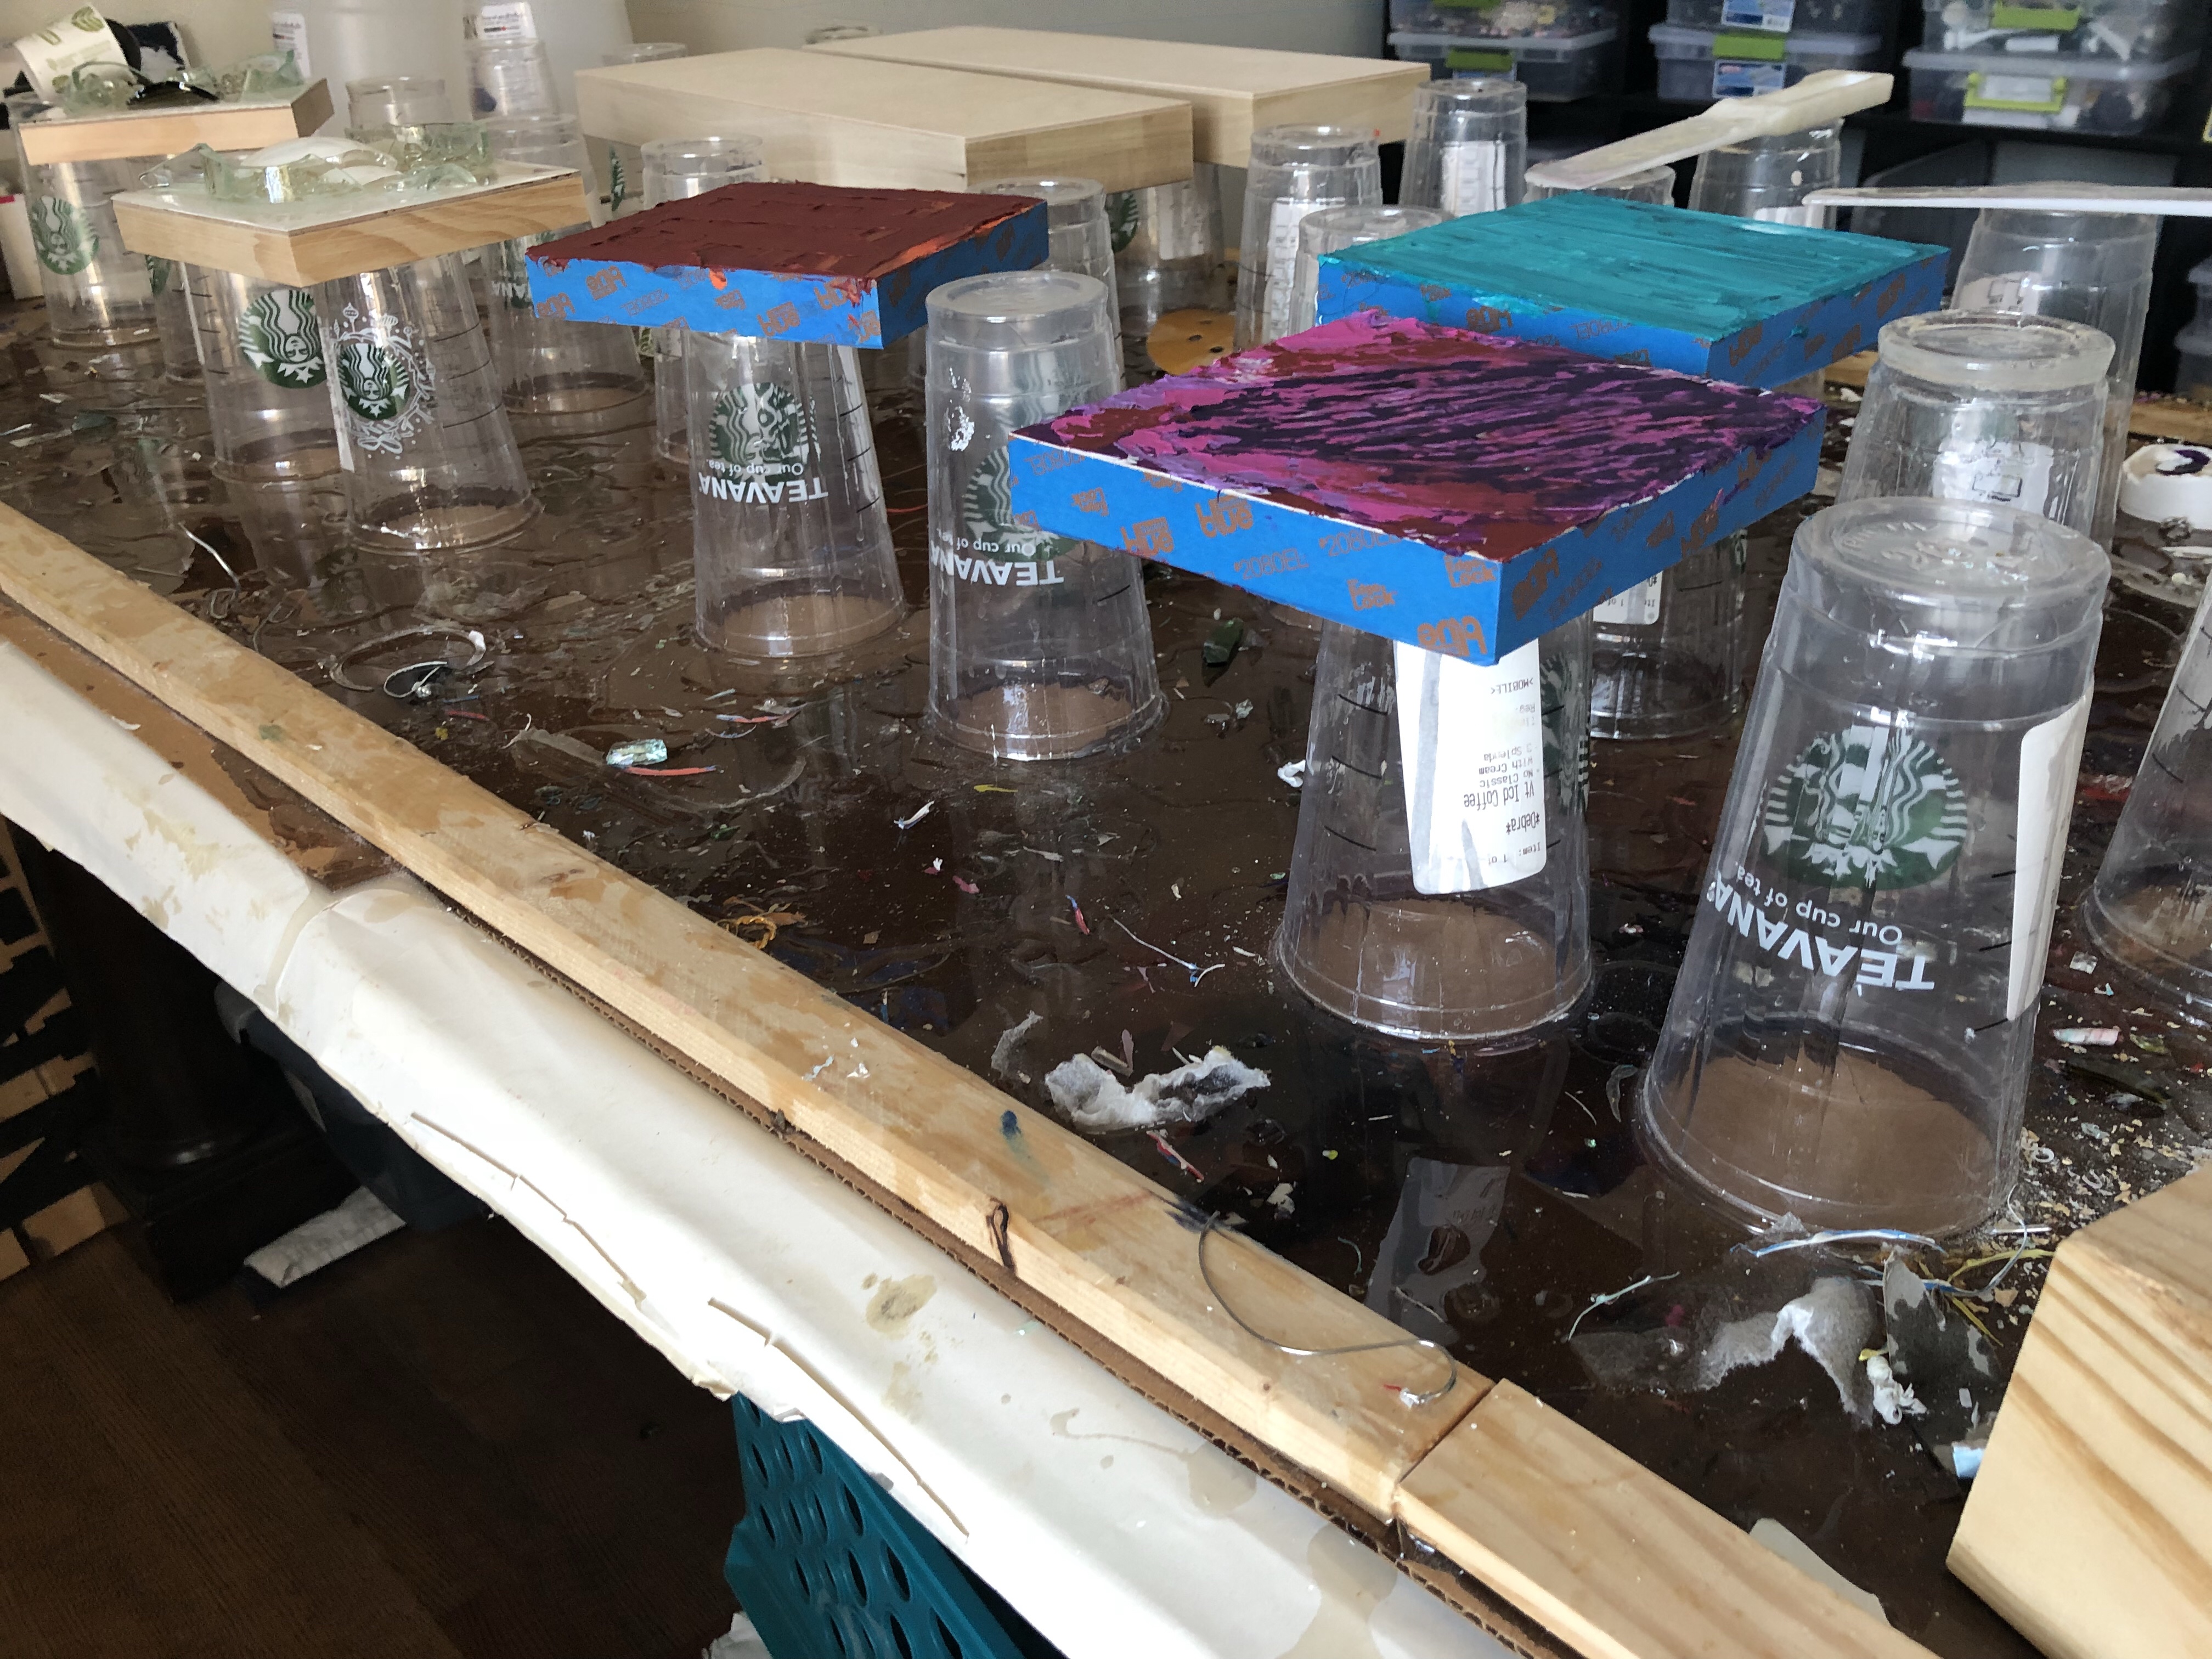
I made my kids custom hyrdroflasks for Christmas this past year. They seem to love these liquid containers, and I wanted to do something special for them and create something unique. Recently for my daughter’s graduation, I wanted to make her and her friends something that they can take with them when they go off to school that reminds them of home. So here they are.

I started by creating some marks on the flasks. Because I didn’t plan ahead, I wasn’t able to get all white flasks which is probably what I would have done. More like a blank canvas. I ended up with navy blue, white, black and one gray one.

61056636329__55df4bb9-0495-46be-8c76-23db85504fab

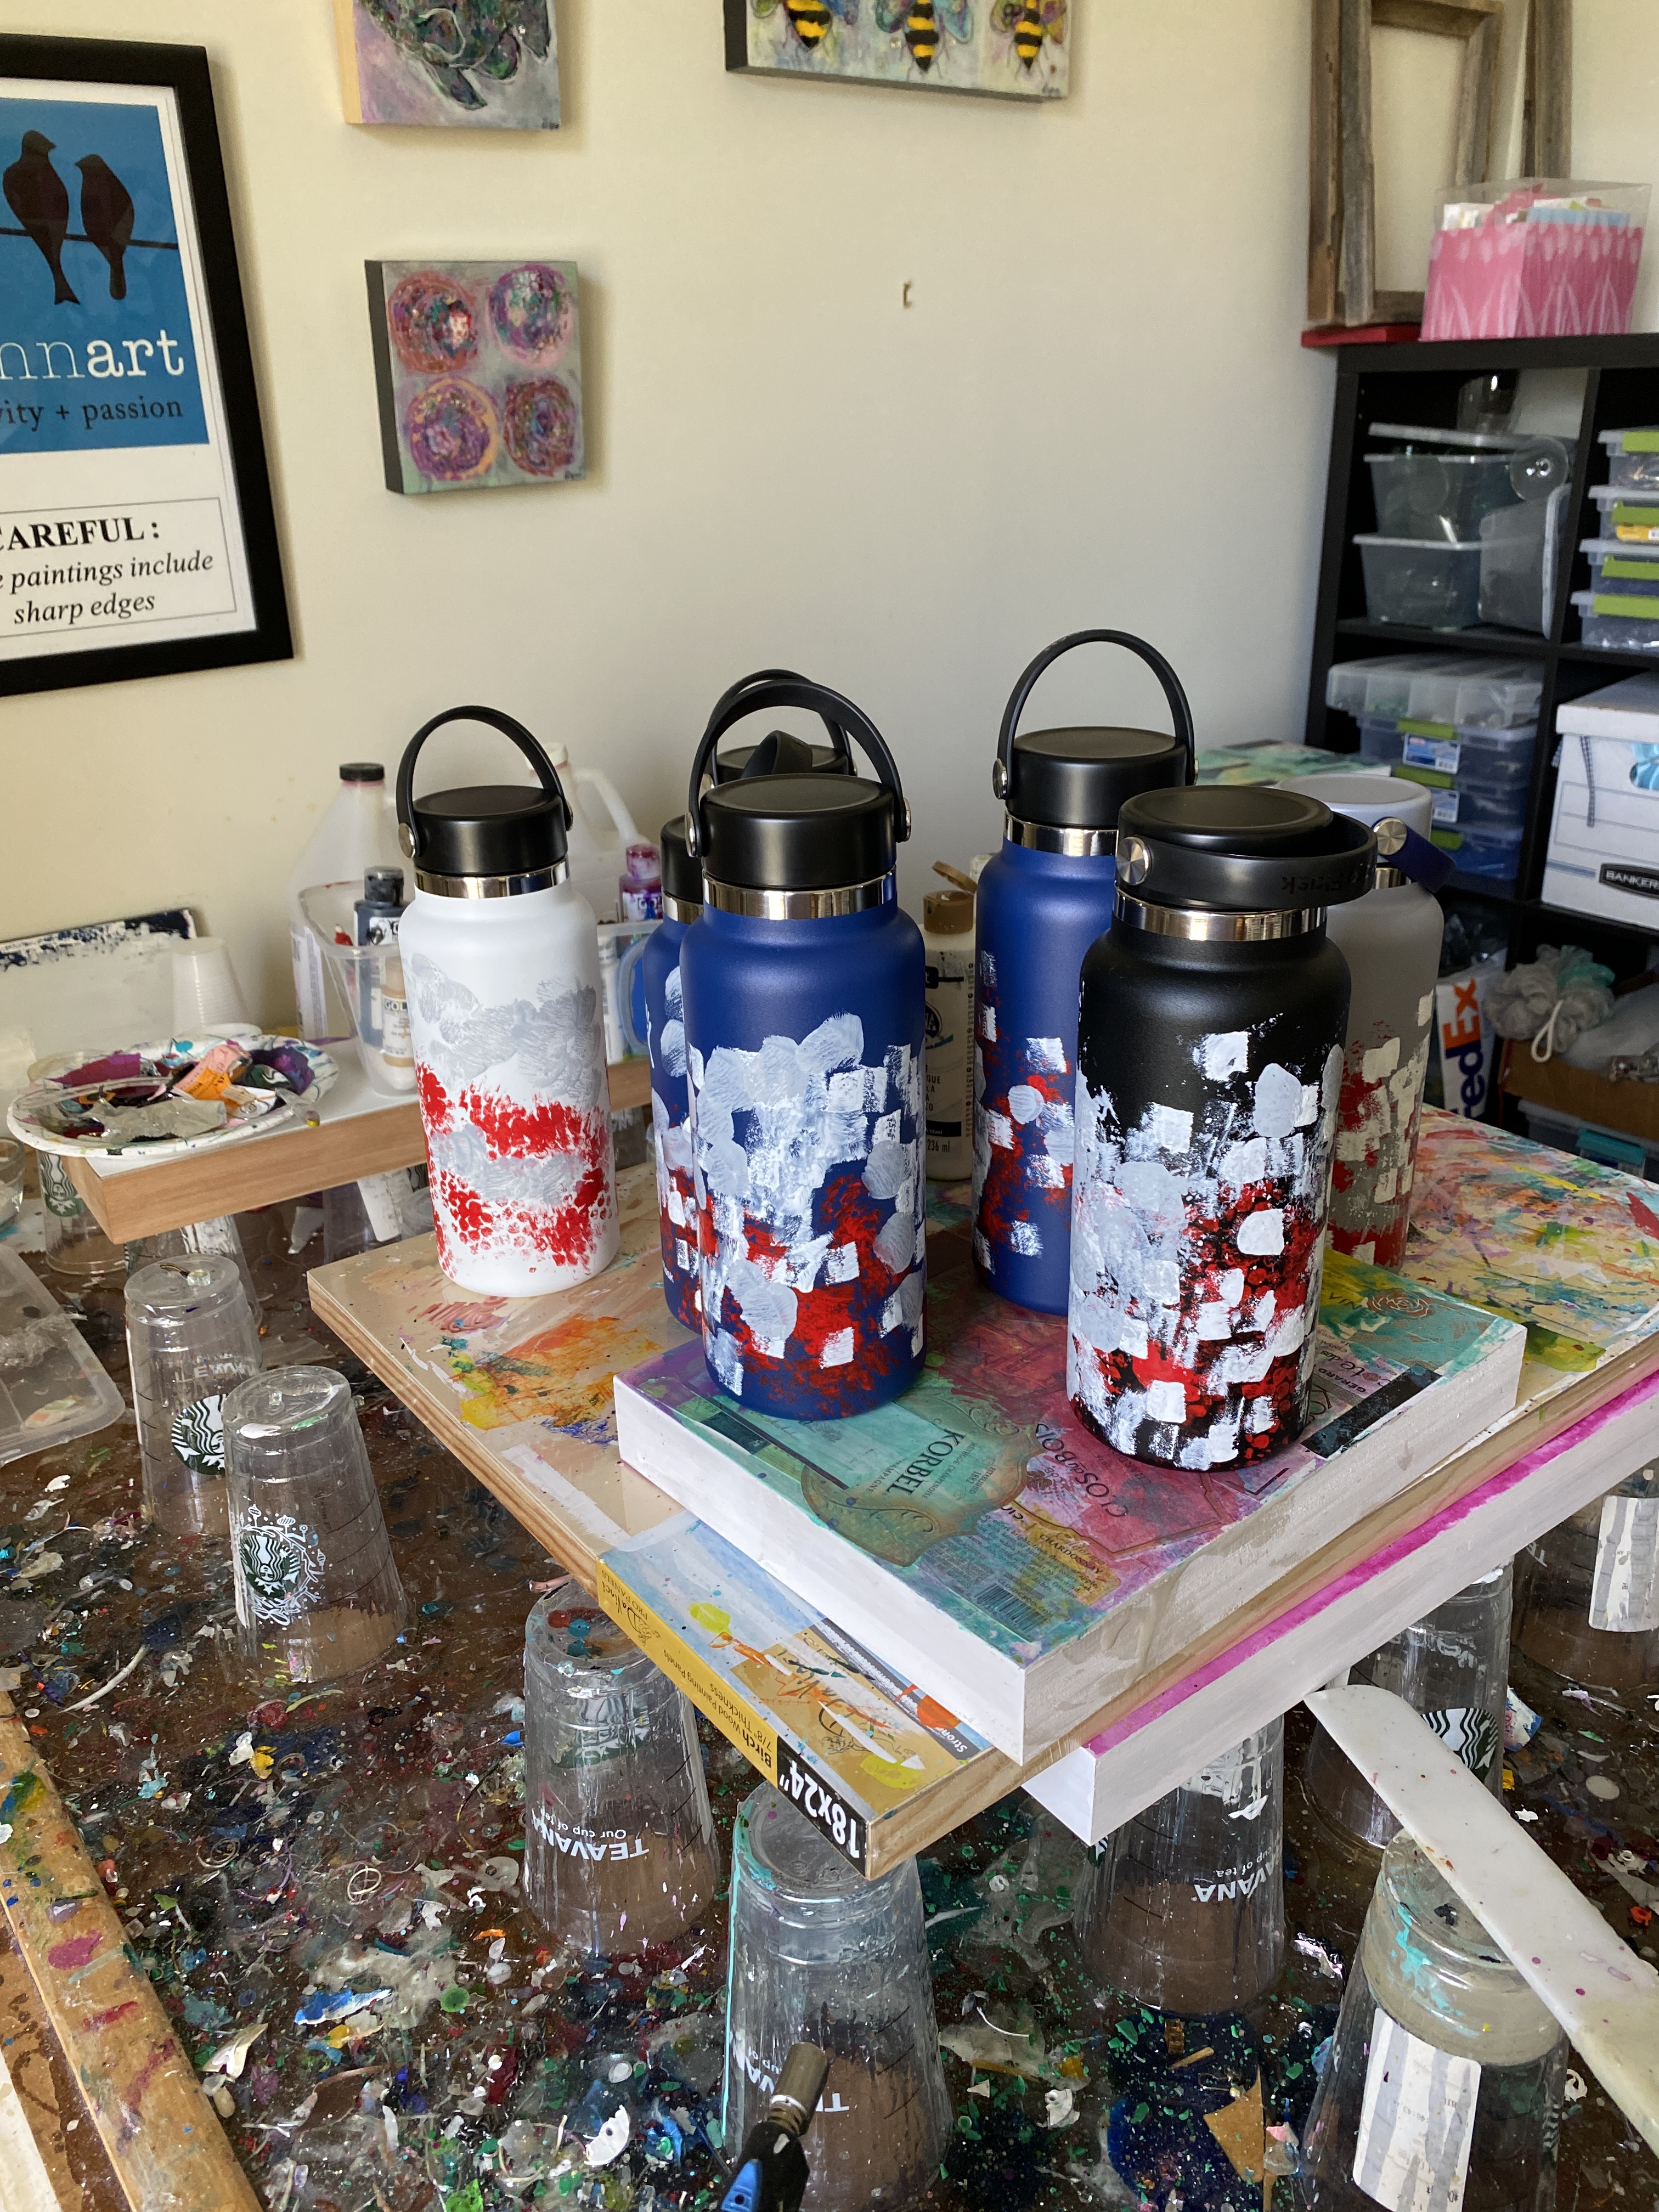
I used all kinds of things to make the marks, bubble wrap, paint brushes, the ends of paint brushes, paper towels, and maybe some other things. As you can see, they really don’t look that great just yet.

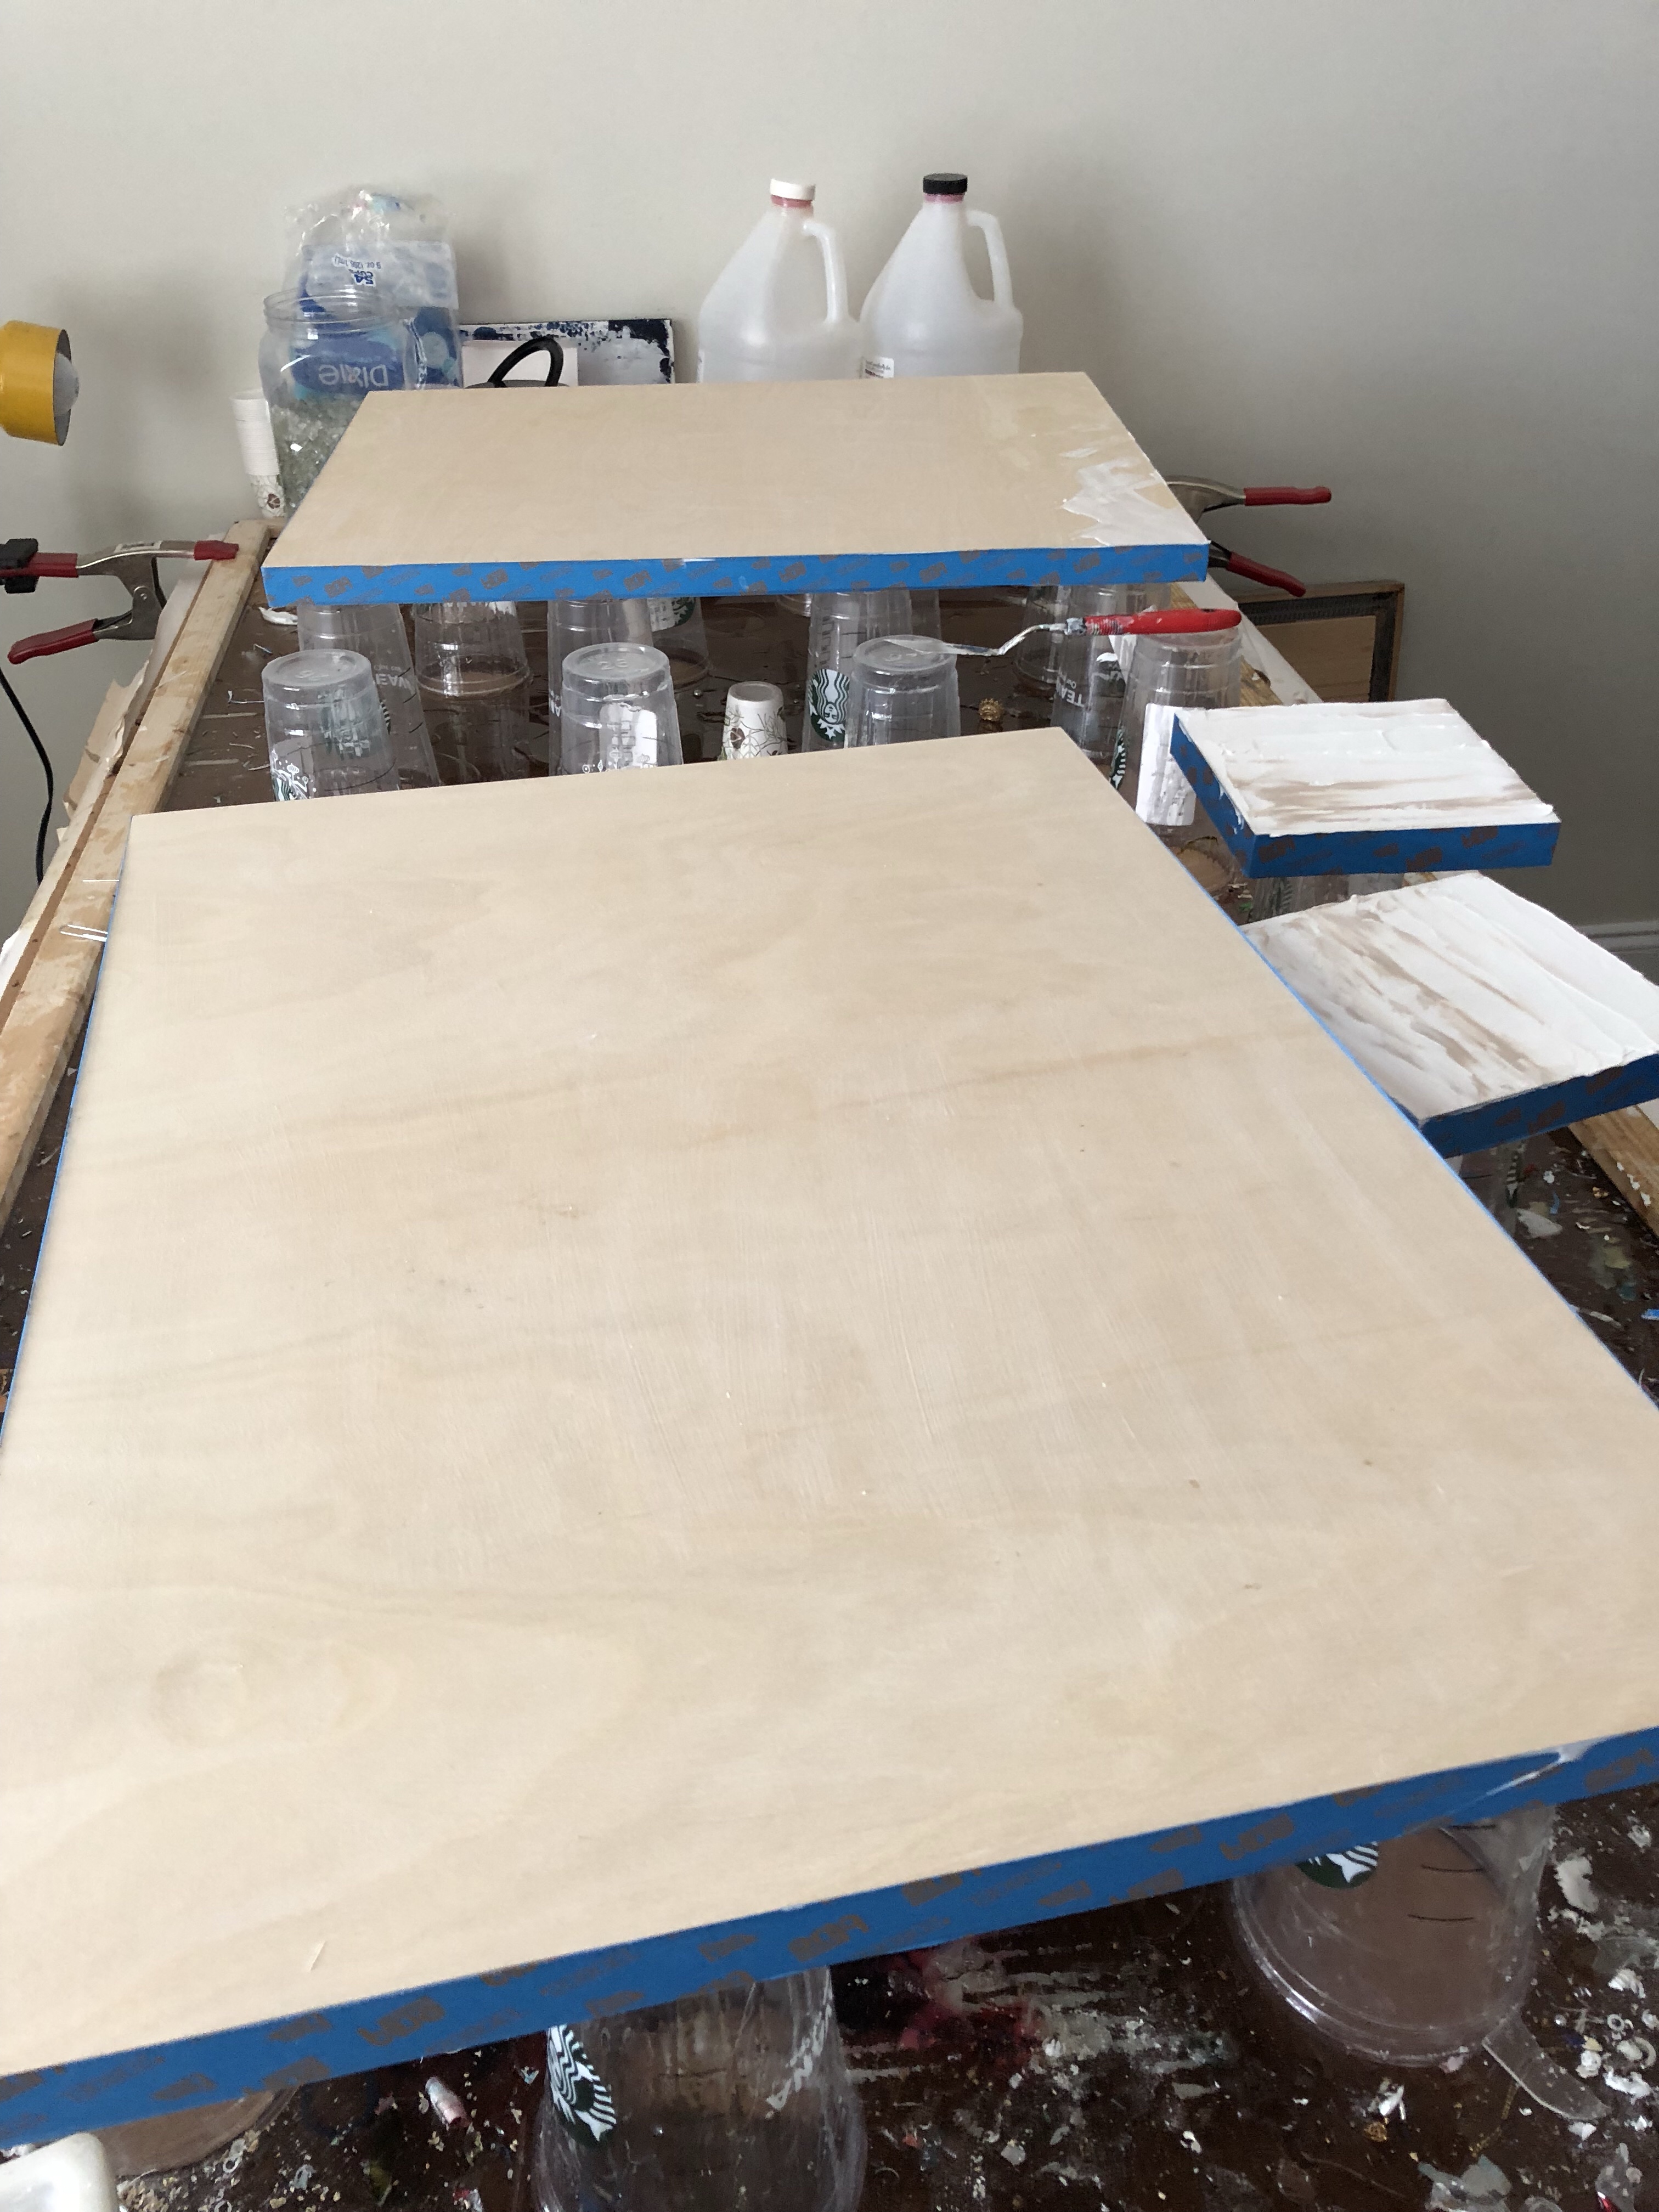
After this layer, I did a layer of light blue, then the red on top. The red was done mostly with small bubble wrap. Once that dried, I did some marking around the edges of the red in gray and white to create some more depth.

img_3369

These are ready for the Memphis bridge to be painted on top. Once I painted the bridge, I used stamps to print out ‘memphis’ on the front by the bridge, and for most of them, I did their initials on the other side.

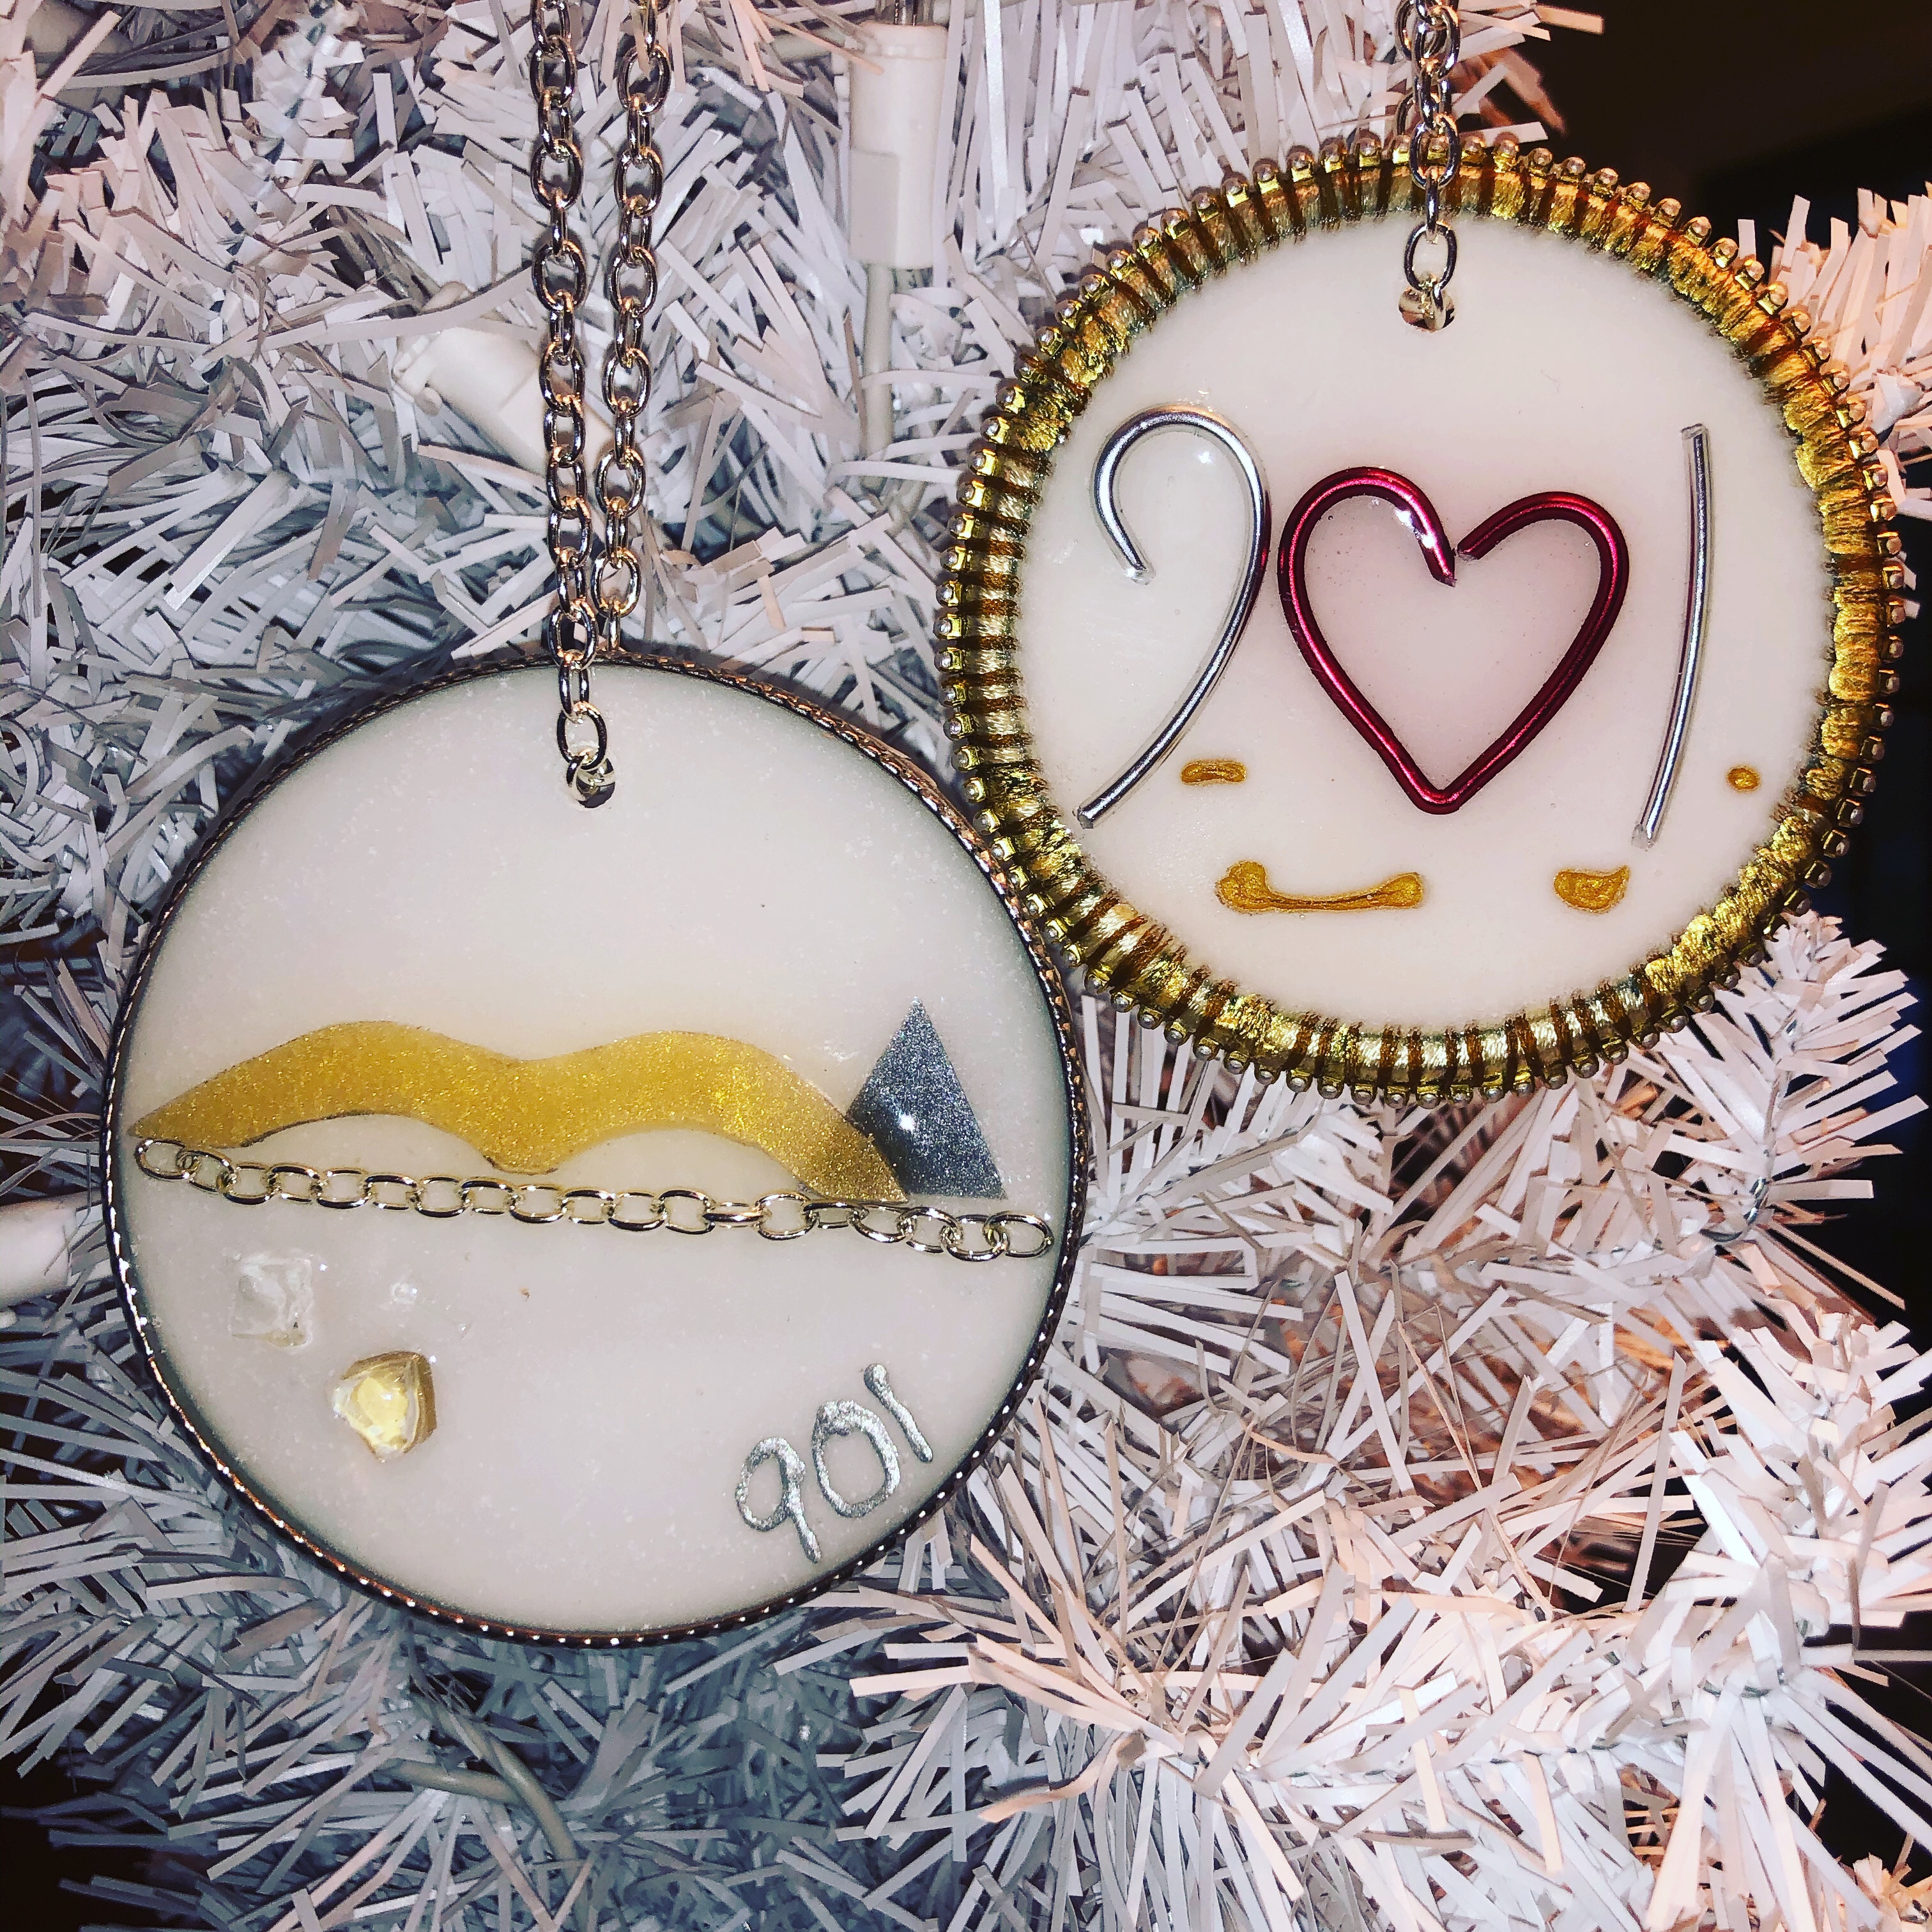
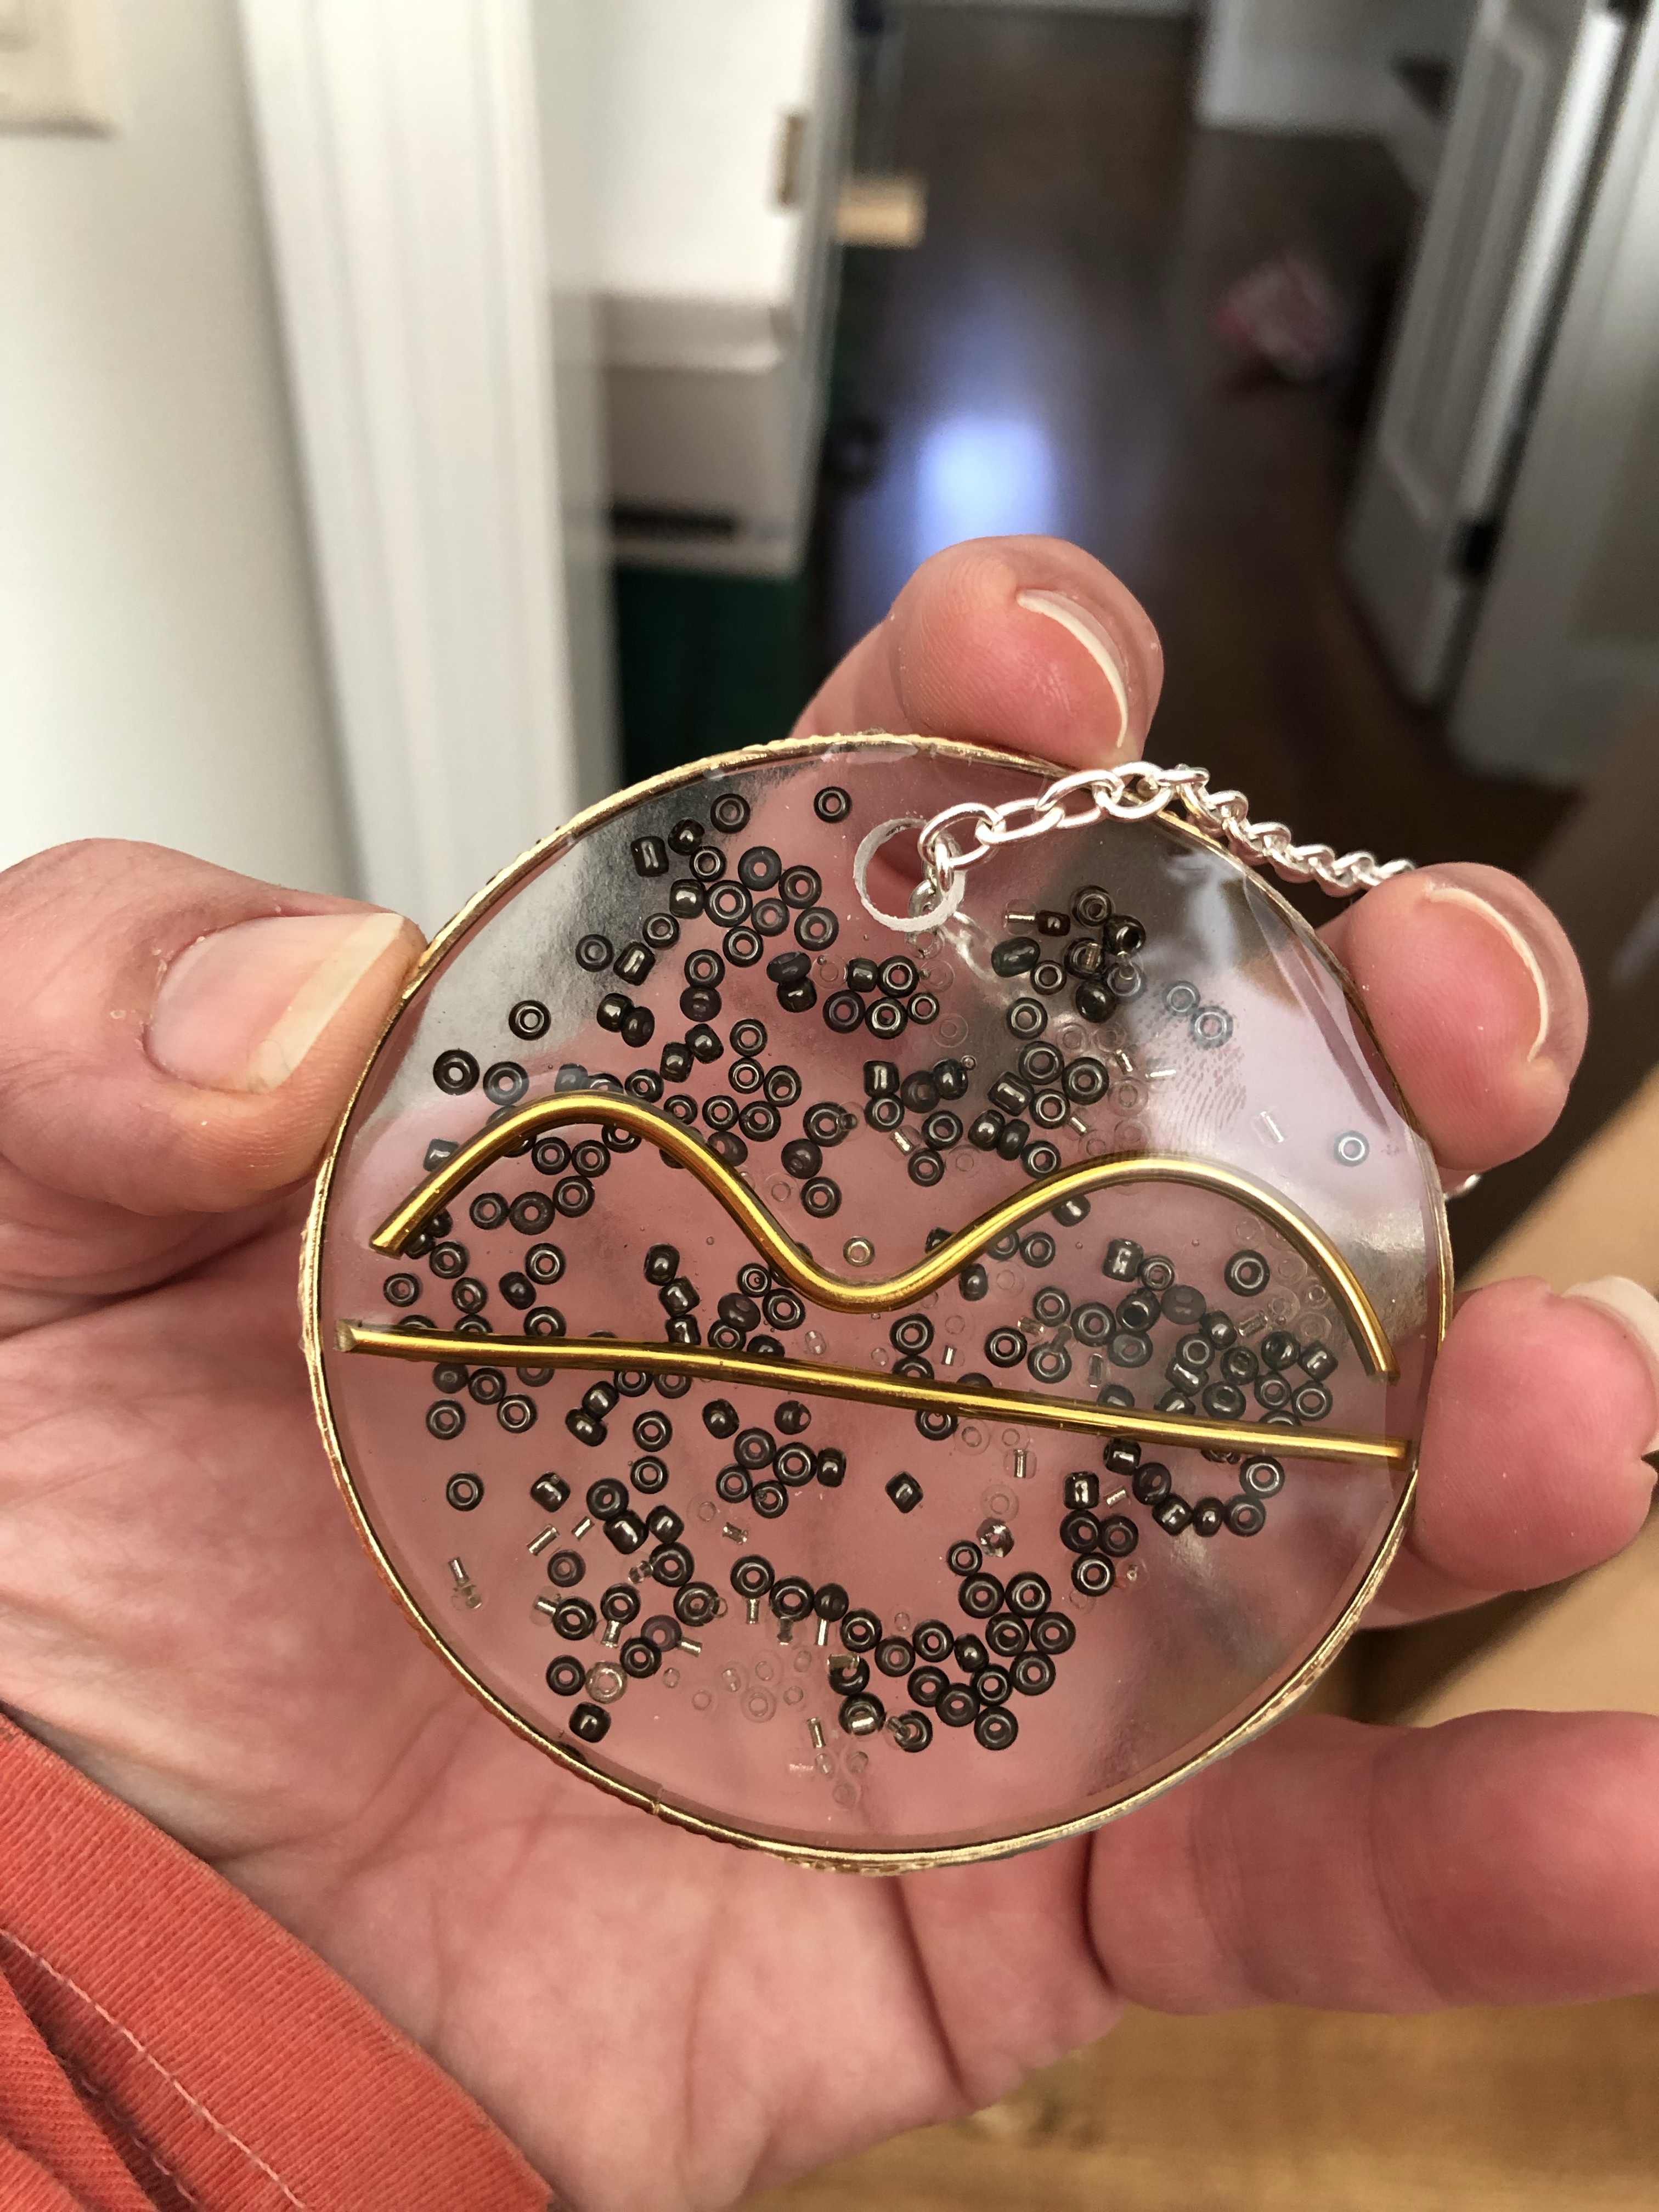
A couple of the final product:

img_3365
img_3365
img_3366

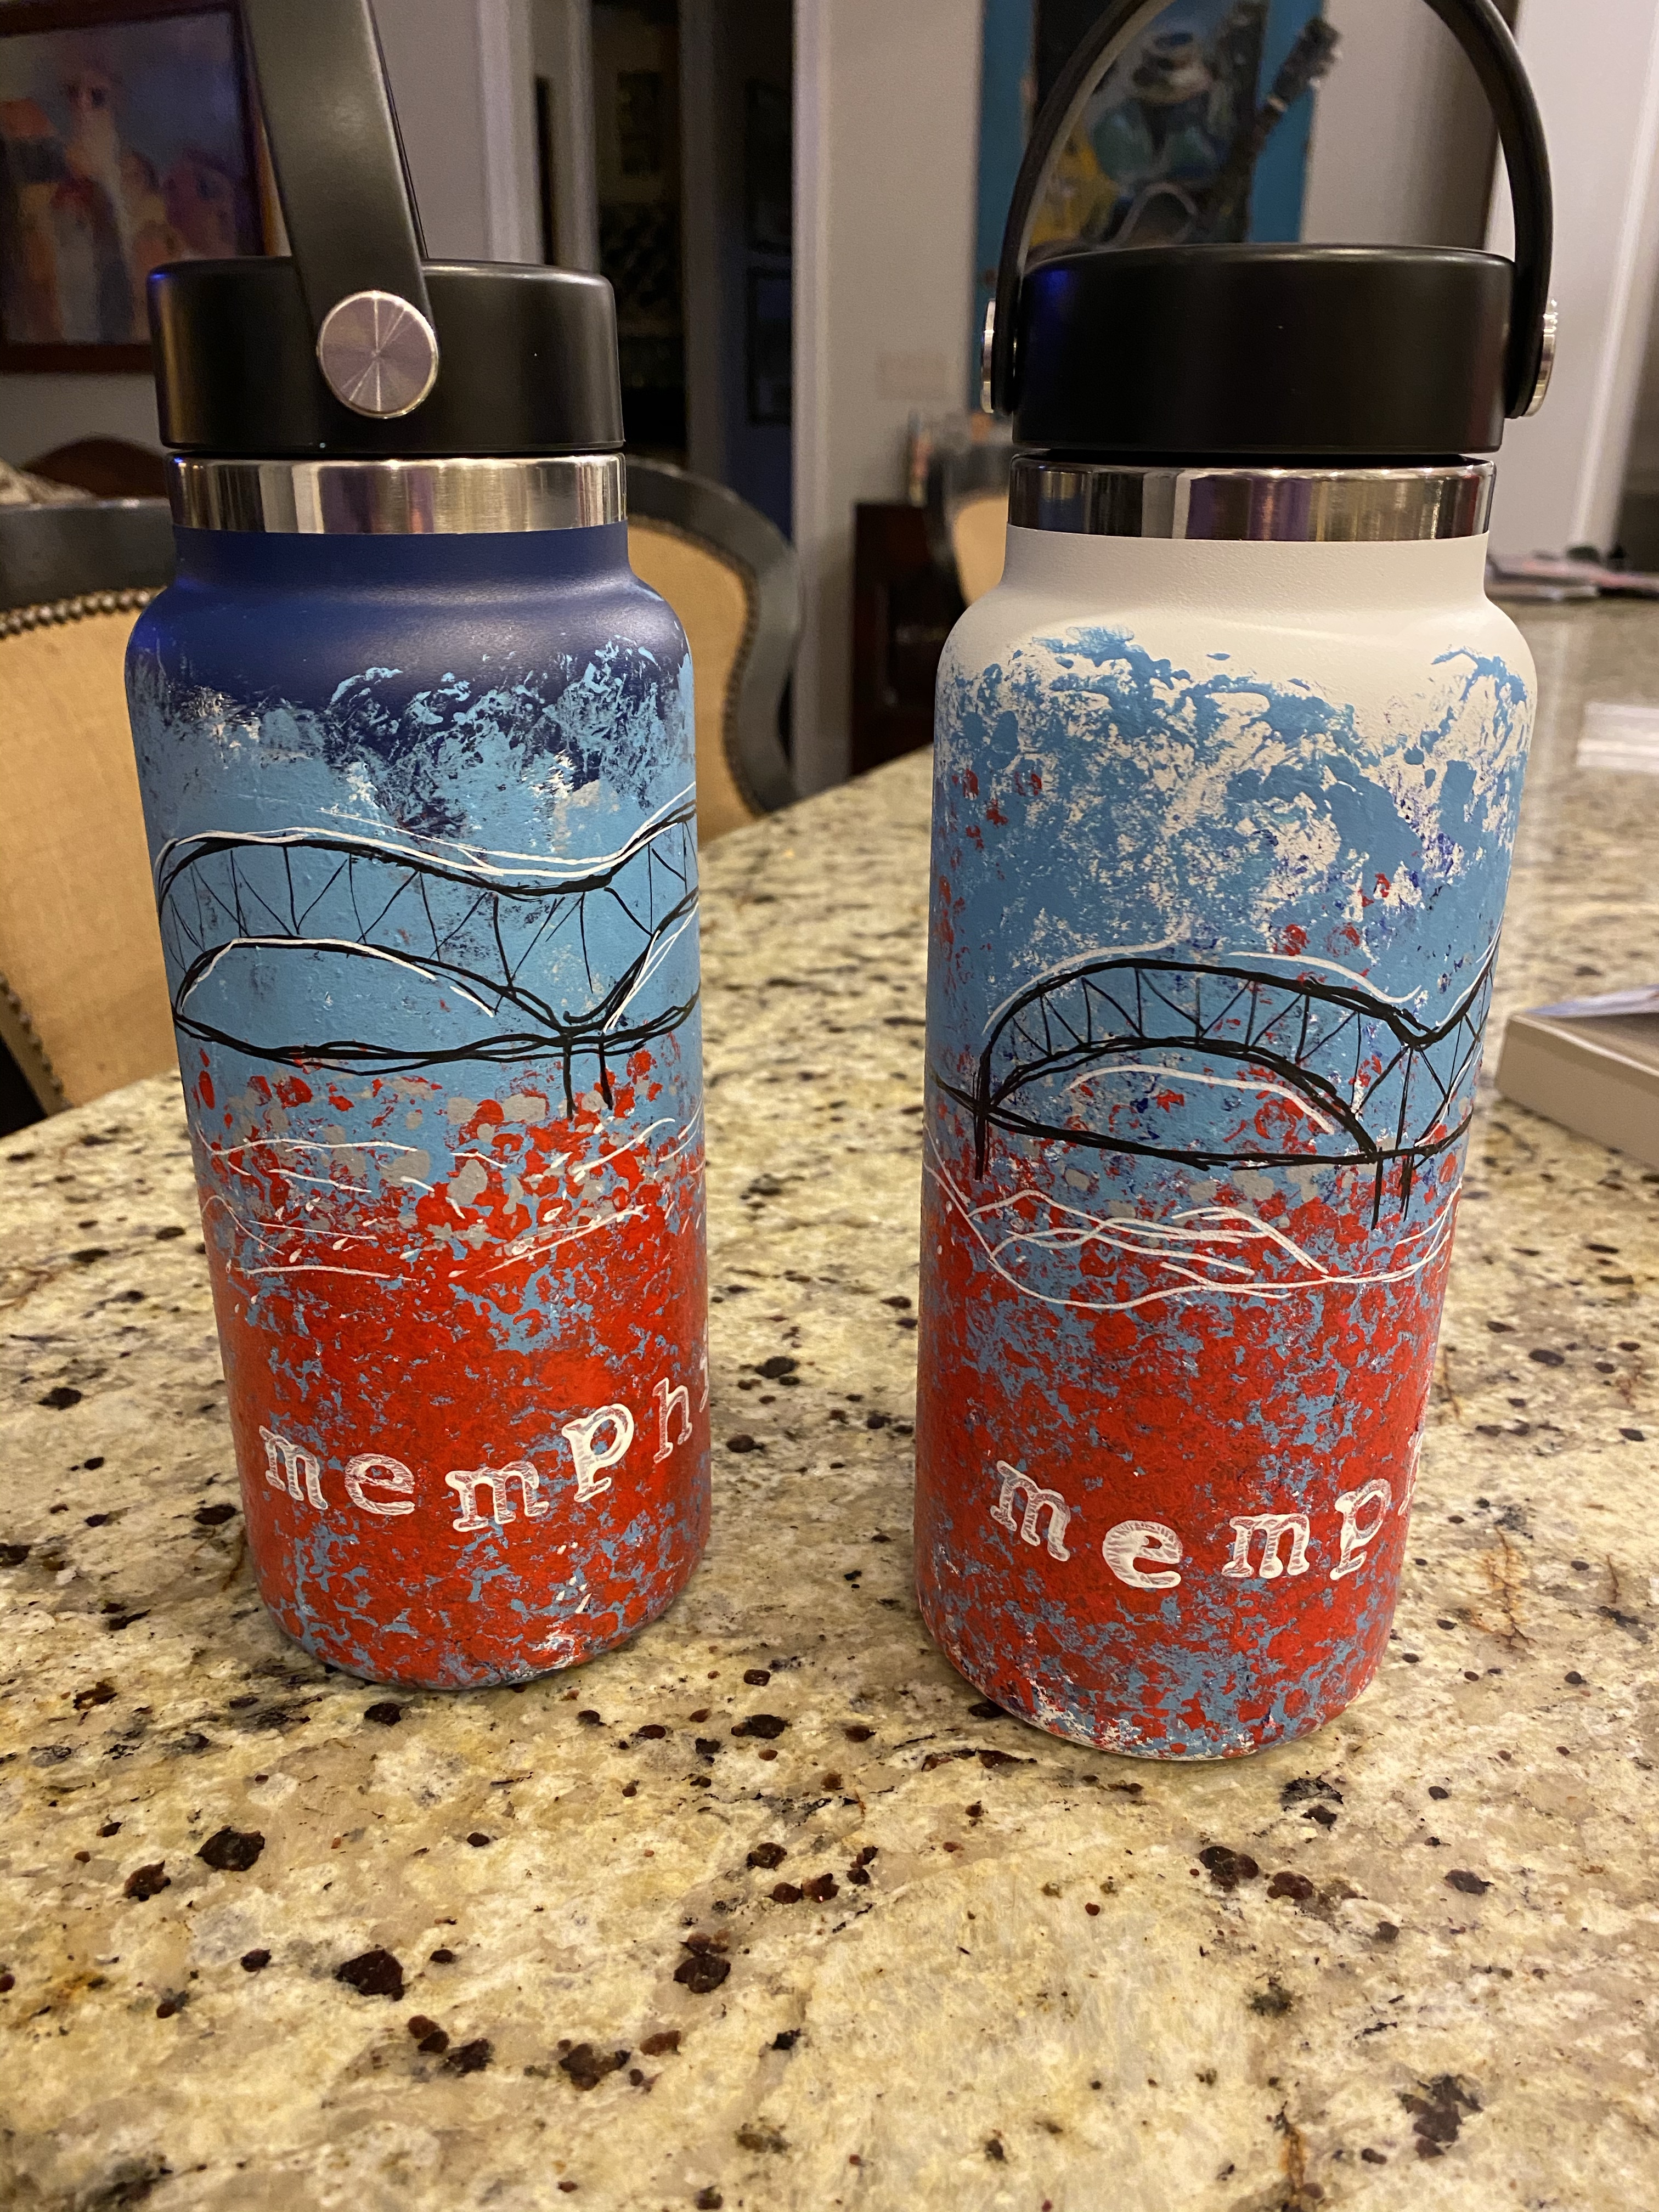
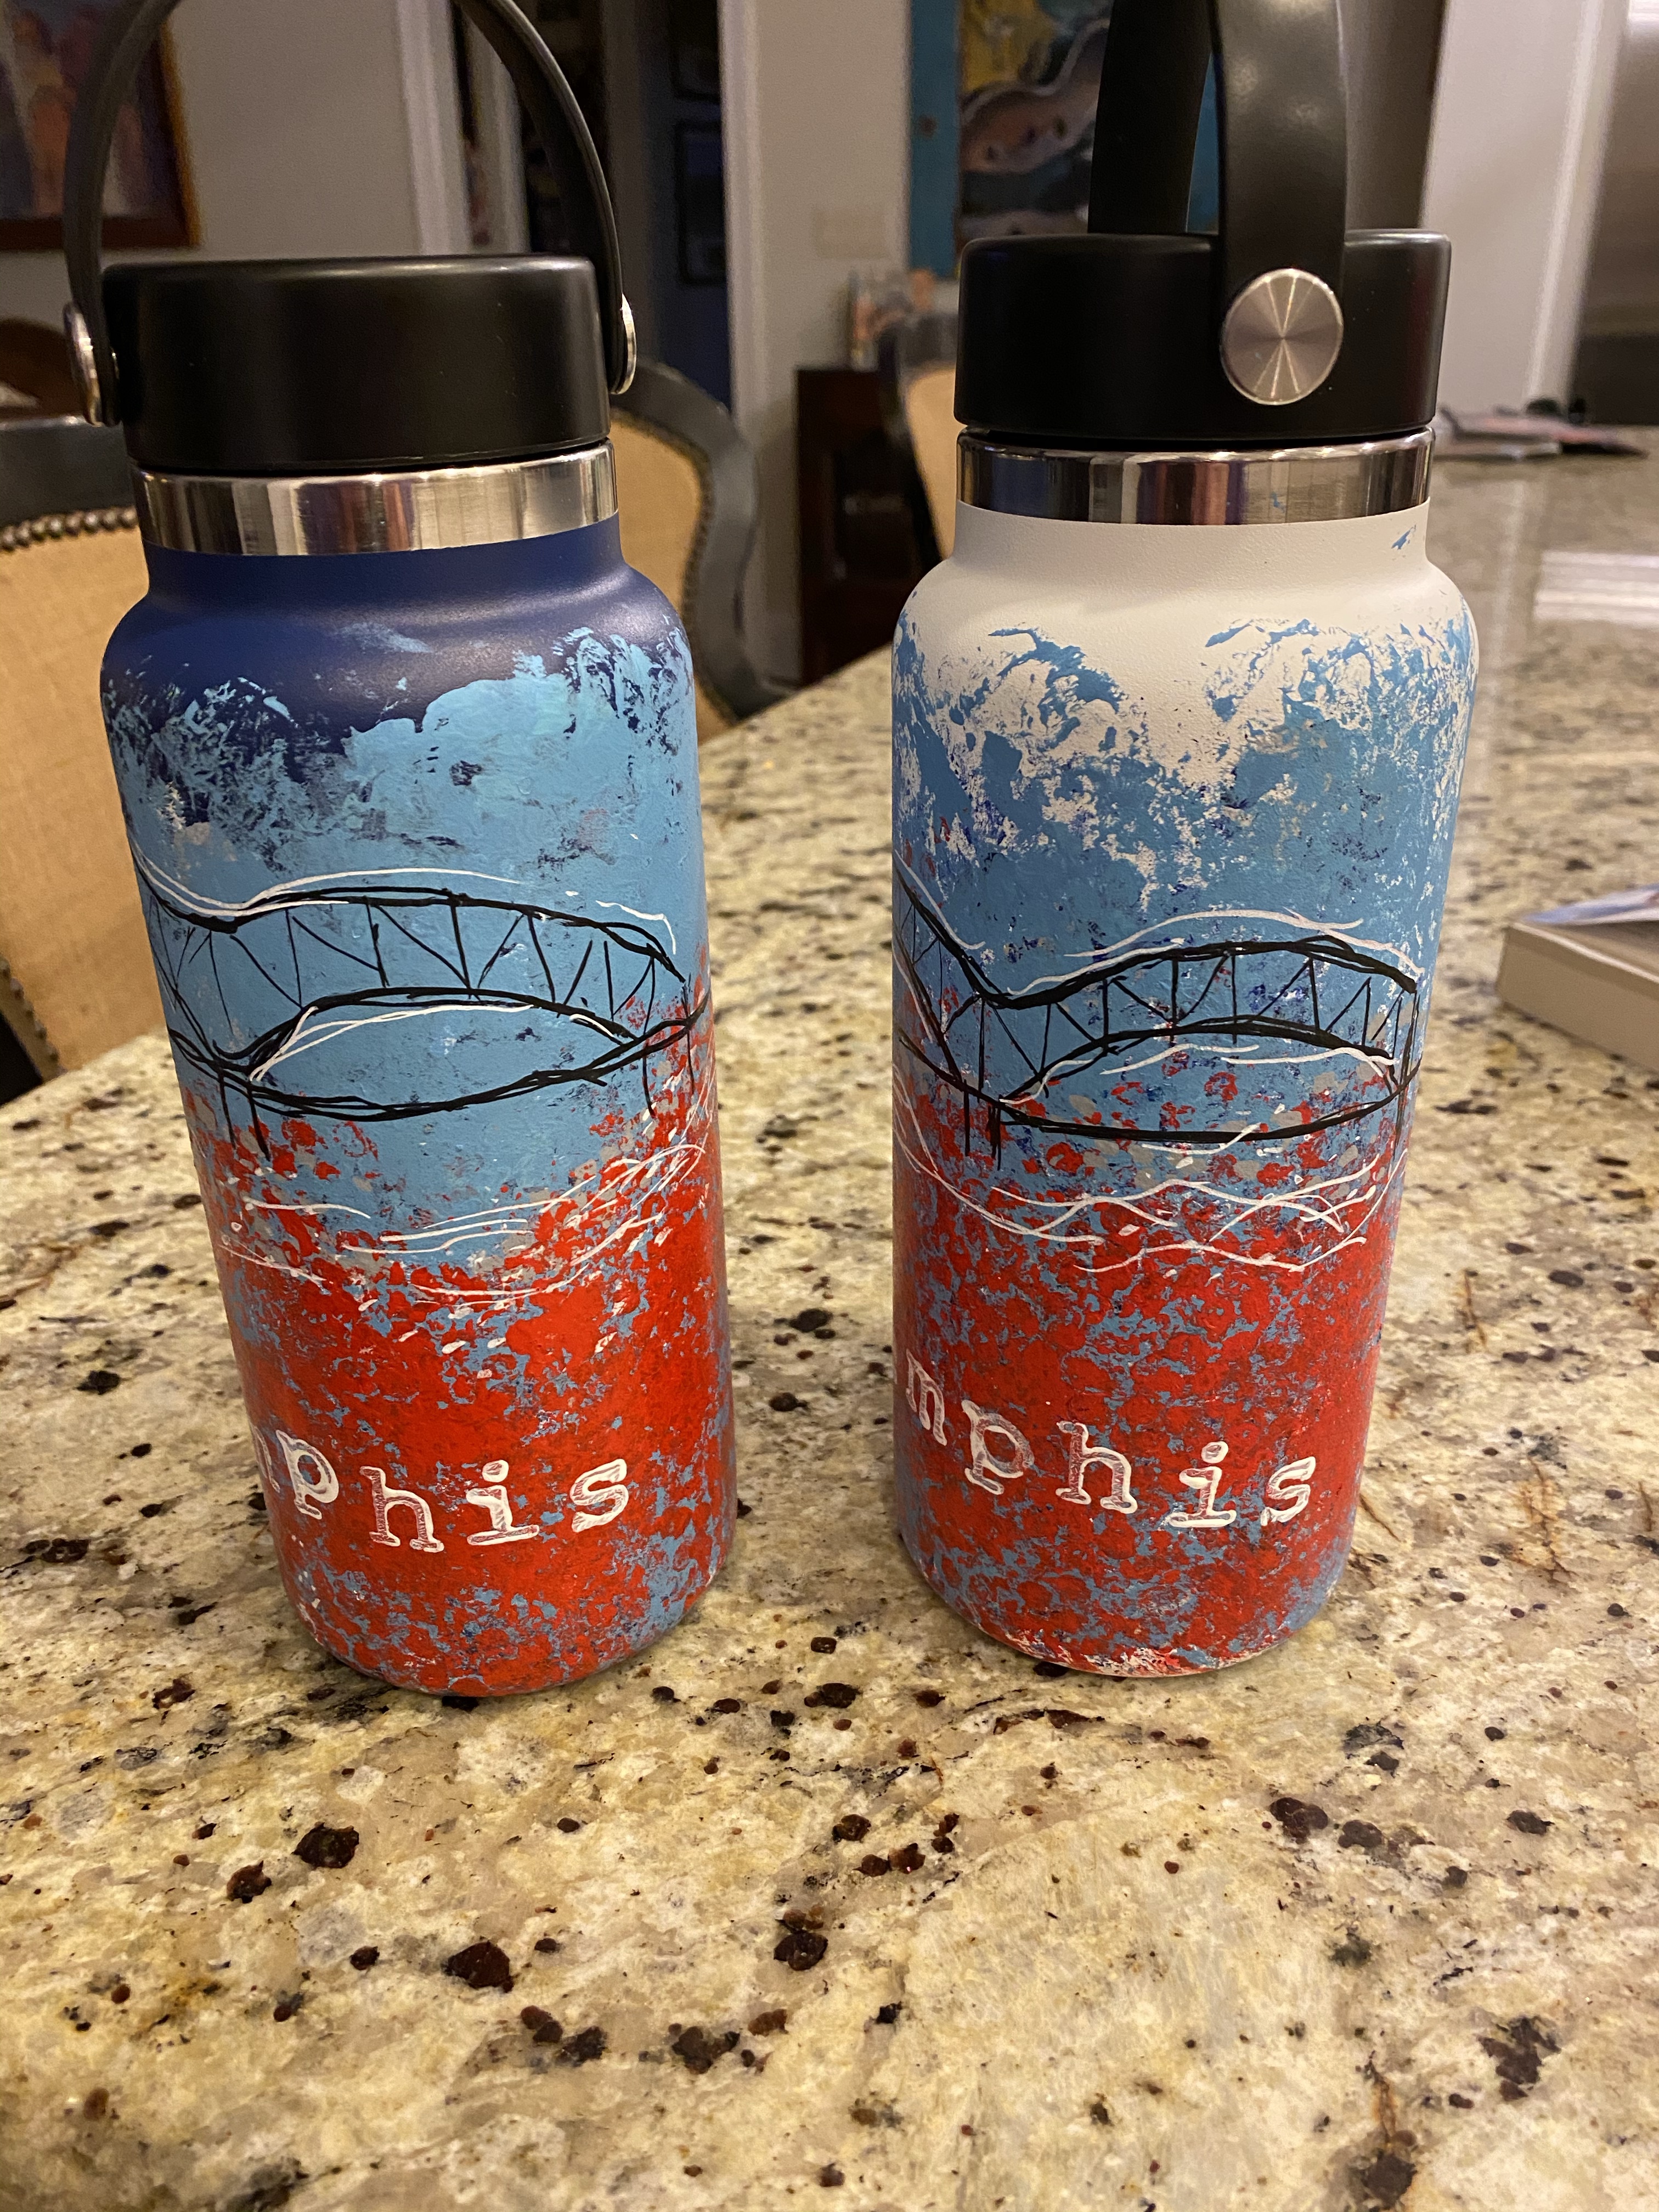
These two don’t have the sealer applied yet. The sealer makes them super shiny and my beautiful daughter made sure they were shiny. She researched what was needed and went to the store to get it. So much better than the finish I had planned on.

Materials used: hydroflask, fluid acrylic paint, Posca paint pens, Mod Podge clear acrylic sealer.

Quarantine Cards

Spending so much time at home during these quarantine times. I had a box and a half of blank cards and envelopes, so I started painting cards and sending them to friends. This has accomplished so many things for me including:

  • Making my heart happy
  • Giving me bright spots to sometimes very dreary days
  • Hearing from friends I haven’t heard from in a while
  • Bringing a bright spot to the potentially dreary days of others
  • And I’m sure there are more

The pictures above are all fat birds which are something new I started during this time. I also made flowers, bees, owls and hearts. And on many of them, I wrote a lyric from a song, usually uplifting, or at least I thought.

Fingers crossed for starting down the road back to normalcy.

Christmas Ornaments

It’s an evolution in my world as far as my art goes. I wanted to share a small part of how my Christmas ornaments have evolved. This is my third year making them, and each year, there’s been something different than the year before.

2019

This year, I tried a few different things. The ones on the far right are made from Indian bangle bracelets that I got at the India Fest. I start most of my ornaments withbracelets that I try to get from thrift stores (and sometimes Poshmark), and if not, buy them new. I couldn’t resist these threaded ones in various Christmas-y colors. I also did bridge / pyramid ornaments using leftover resin, and of course the tiger stripes. Memphis football has been on fire this year, so it seemed an appropriate tribute.

2018

These ornaments include alcohol ink which has such a cool effect on the resin. It creates little divots and pouches which give a really cool depth to them. These ones were SO popular!!

2017

These were from my first year. I have always loved our Memphis bridge, and wanted to include that in my ornaments. Beads were a big part of year 1, but I don’t use them as much any more.

Resined Wildflowers

I’ve been making art for about ten years now. To say it’s been an evolution is an understatement. What I make changes so very much, and sometimes often!! I’ve never done a great job with painting specific things that exist in real life, so when I found an online class (https://www.amandaevanstonlearning.com) to take where I would learn to make beautiful abstract-ish flowers, I was all over it. I took the class and already bought a second one.

I continue to apply what I learned in the first class to what I make, but I still like to use the class (and instagram videos which is where I learned about these wildflowers) as an influence and not replace my own style with it. This group of poppies / wildflowers seems to do that as a mix of the abstract flower style and my glass / resin style.

The paintings were a commission to be given as teacher appreciation gifts. 16 of them!! They are on 3×9 wood panels and are coated with resin including some glass accents. You can see the reflection of the resin in the shiny pictures. For this group, I lined up all 16 then painted them like one big paintings. You could consider the 16 of them together as a puzzle :).

Champagne and Flowers Please


My big inspiration for this painting was a champagne bottle. I had dinner earlier this year in Tampa, and we shared a bottle of champagne. I was in love with the bottle, so I packed it in my bag and took it home to Memphis with me. I was also inspired by some very colorful paintings I had seen on Instagram. I have been making so many paintings lately that have some bright colors, but mostly neutral backgrounds. So I wanted to do something a little different. So I started with a fantastic empty champagne bottle, and a vision for bright colors, this time choosing purple and a shade of blue.


Varying shades of flowers in pink, big hydrangea type flowers. I mixed pink with purple and a little white for the lighter colored ones.


The last step before the resin was the glass accents. I already had what I would use for the base, but what else? I started putting some crushed pink glass on all of the flowers, but I didn’t like it! I then tilted the panel up to get the glass all off at once, and it pooled at the bottom by where the vase went. I put the vase down on it, and I loved how it looked. So the pink crushed glass stayed. I also ended up stacking it up a bit, and using the resin and the crushed glass to hold the vase down.

This painting will be auctioned off a school auction in the coming weeks. I hope whoever buys it loves it as much as I loved making it!

My Studio

My art has evolved fairly dramatically over time. I used to do a lot with wood and burlap, but I don’t do as much of that any more. Who knows when I will start back up with it, could be any minute.

At some point in the recent past, someone said – I’d love to see what your space looks like. So, I figured I would share. I have days where I’m pretty proud of what things look like and how I’m organized. I won’t say today is one of those, but I would say I’m pretty ok with where things are today.

Here is my drying / resin / painting desk. It’s made with empty Starbucks cups and heavy duty cardboard. Hopefully when I’m ready to change the cardboard, it’s not horribly stuck to the desk.

img_5261

At this point, these cups are never coming off of the cardboard. But I’m so happy to have gotten so many uses from them! I’ve got a few canvases on top that I’m working on, and in the top left corner, there are a couple finished angels that I haven’t put away yet.

Against the walls, I have two storage units where I keep all of my materials – paint, glass, old jewelry, canvases and whatever else I am using. I’m kind of neurotic when it comes to the plastic bins. I love storing things away and finding a home for everything. Right now, I’m also storing some finished products in crates on these shelves. I use the crates to move things around for shows, so leaving them in the crates saves a step for me.

And the walls!! I’ve started hanging my art on the walls to save space. Hopefully I sell so much of these I never fill the walls up entirely, but I’m loving having the walls filled up right now.

Here are a few more close ups of my supplies:

Enjoy!!!

Making Birds on a Wire

Recently a friend asked if I would make a painting for an event at the school her kids attend. I don’t know that I’ve ever said no to one of those requests, but this time, I wanted it to be extra, like extra big, extra special, overall extra. My art has changed tremendously over the years, so I wanted this one to be a real statement about what I’m making these days.

I’ll admit, I’m always a little disappointed at the price my paintings go for at these events. I know that the whole idea is to help raise money for the school, and people want to feel like they are getting a deal. That’s how it goes at school auctions. But I am super hopeful that this painting does better than my paintings have done in the past.

This is how I made it:

As expected, I started with a blank canvas. I primarily use Da Vinci wood panels, these are 5/8″ thick. I also love to use the 2 inch thick kind that come already gesso’ed. I have stacks of them in my studio, lots of different sizes.

img_5065

To prep these, I tape the sides, and gesso the surface. Because they will be coated with resin, I make all of my art flat and on top of upside down cups. The cups keep the painting off the desk surface so they don’t stick once the resin is poured. Next I create the base of color. Often, I start with something, then change it, then change it, and sometimes change it again. The ones that change a lot are usually the best ones!

I knew I wanted to create birds on a wire as the painting, so I started with blue as the background. But I didn’t like it at all. I didn’t know how the birds would look with such a dark background and I just really wasn’t feeling the blues. So, I tried some more vibrant colors, bright orange, purple and fuchsia. And after moving these colors around a bit, I was happy with it. You can still see a couple of blue spots peaking through.

Next, I start on the birds.

First I found the glass that I would use. I used blue tinted glass from one of my favorite bottles of wine. I created the wire from some jewelry chain, then placed the glass birds where I wanted them on the chain. Once I was good with the placement and shapes, I painted an outline for the birds. Given the color of the background, I didn’t think they would stand out enough without it. I used a warm gray for the birds. Then I decided they didn’t stand out ENOUGH! So I tried darker blues and those seemed to work nicely.

So now everything is ready for the resin! Before pouring, I sign the painting. Then pour the resin. It will take 24 hours to dry once poured, but I’ll let it sit for longer. Once dry, I peel off the tape, sign the back and add hanging materials.

img_5217

While I was pouring the resin, I realized that you couldn’t see the beaks of the birds. ARGH! I quickly found some blue glass that I thought would do the trick, and added those to the painting. That was a big save, would have been a bummer for it to not really look like I wanted. I finished pouring around 11:30 AM, so it should be good to go by the same time the next day.

Here is the finished product hanging on my studio wall.

Visit my Etsy shop to see more of my art (and more birds!) :

dLynnArt Etsy