My Studio

My art has evolved fairly dramatically over time. I used to do a lot with wood and burlap, but I don’t do as much of that any more. Who knows when I will start back up with it, could be any minute.

At some point in the recent past, someone said – I’d love to see what your space looks like. So, I figured I would share. I have days where I’m pretty proud of what things look like and how I’m organized. I won’t say today is one of those, but I would say I’m pretty ok with where things are today.

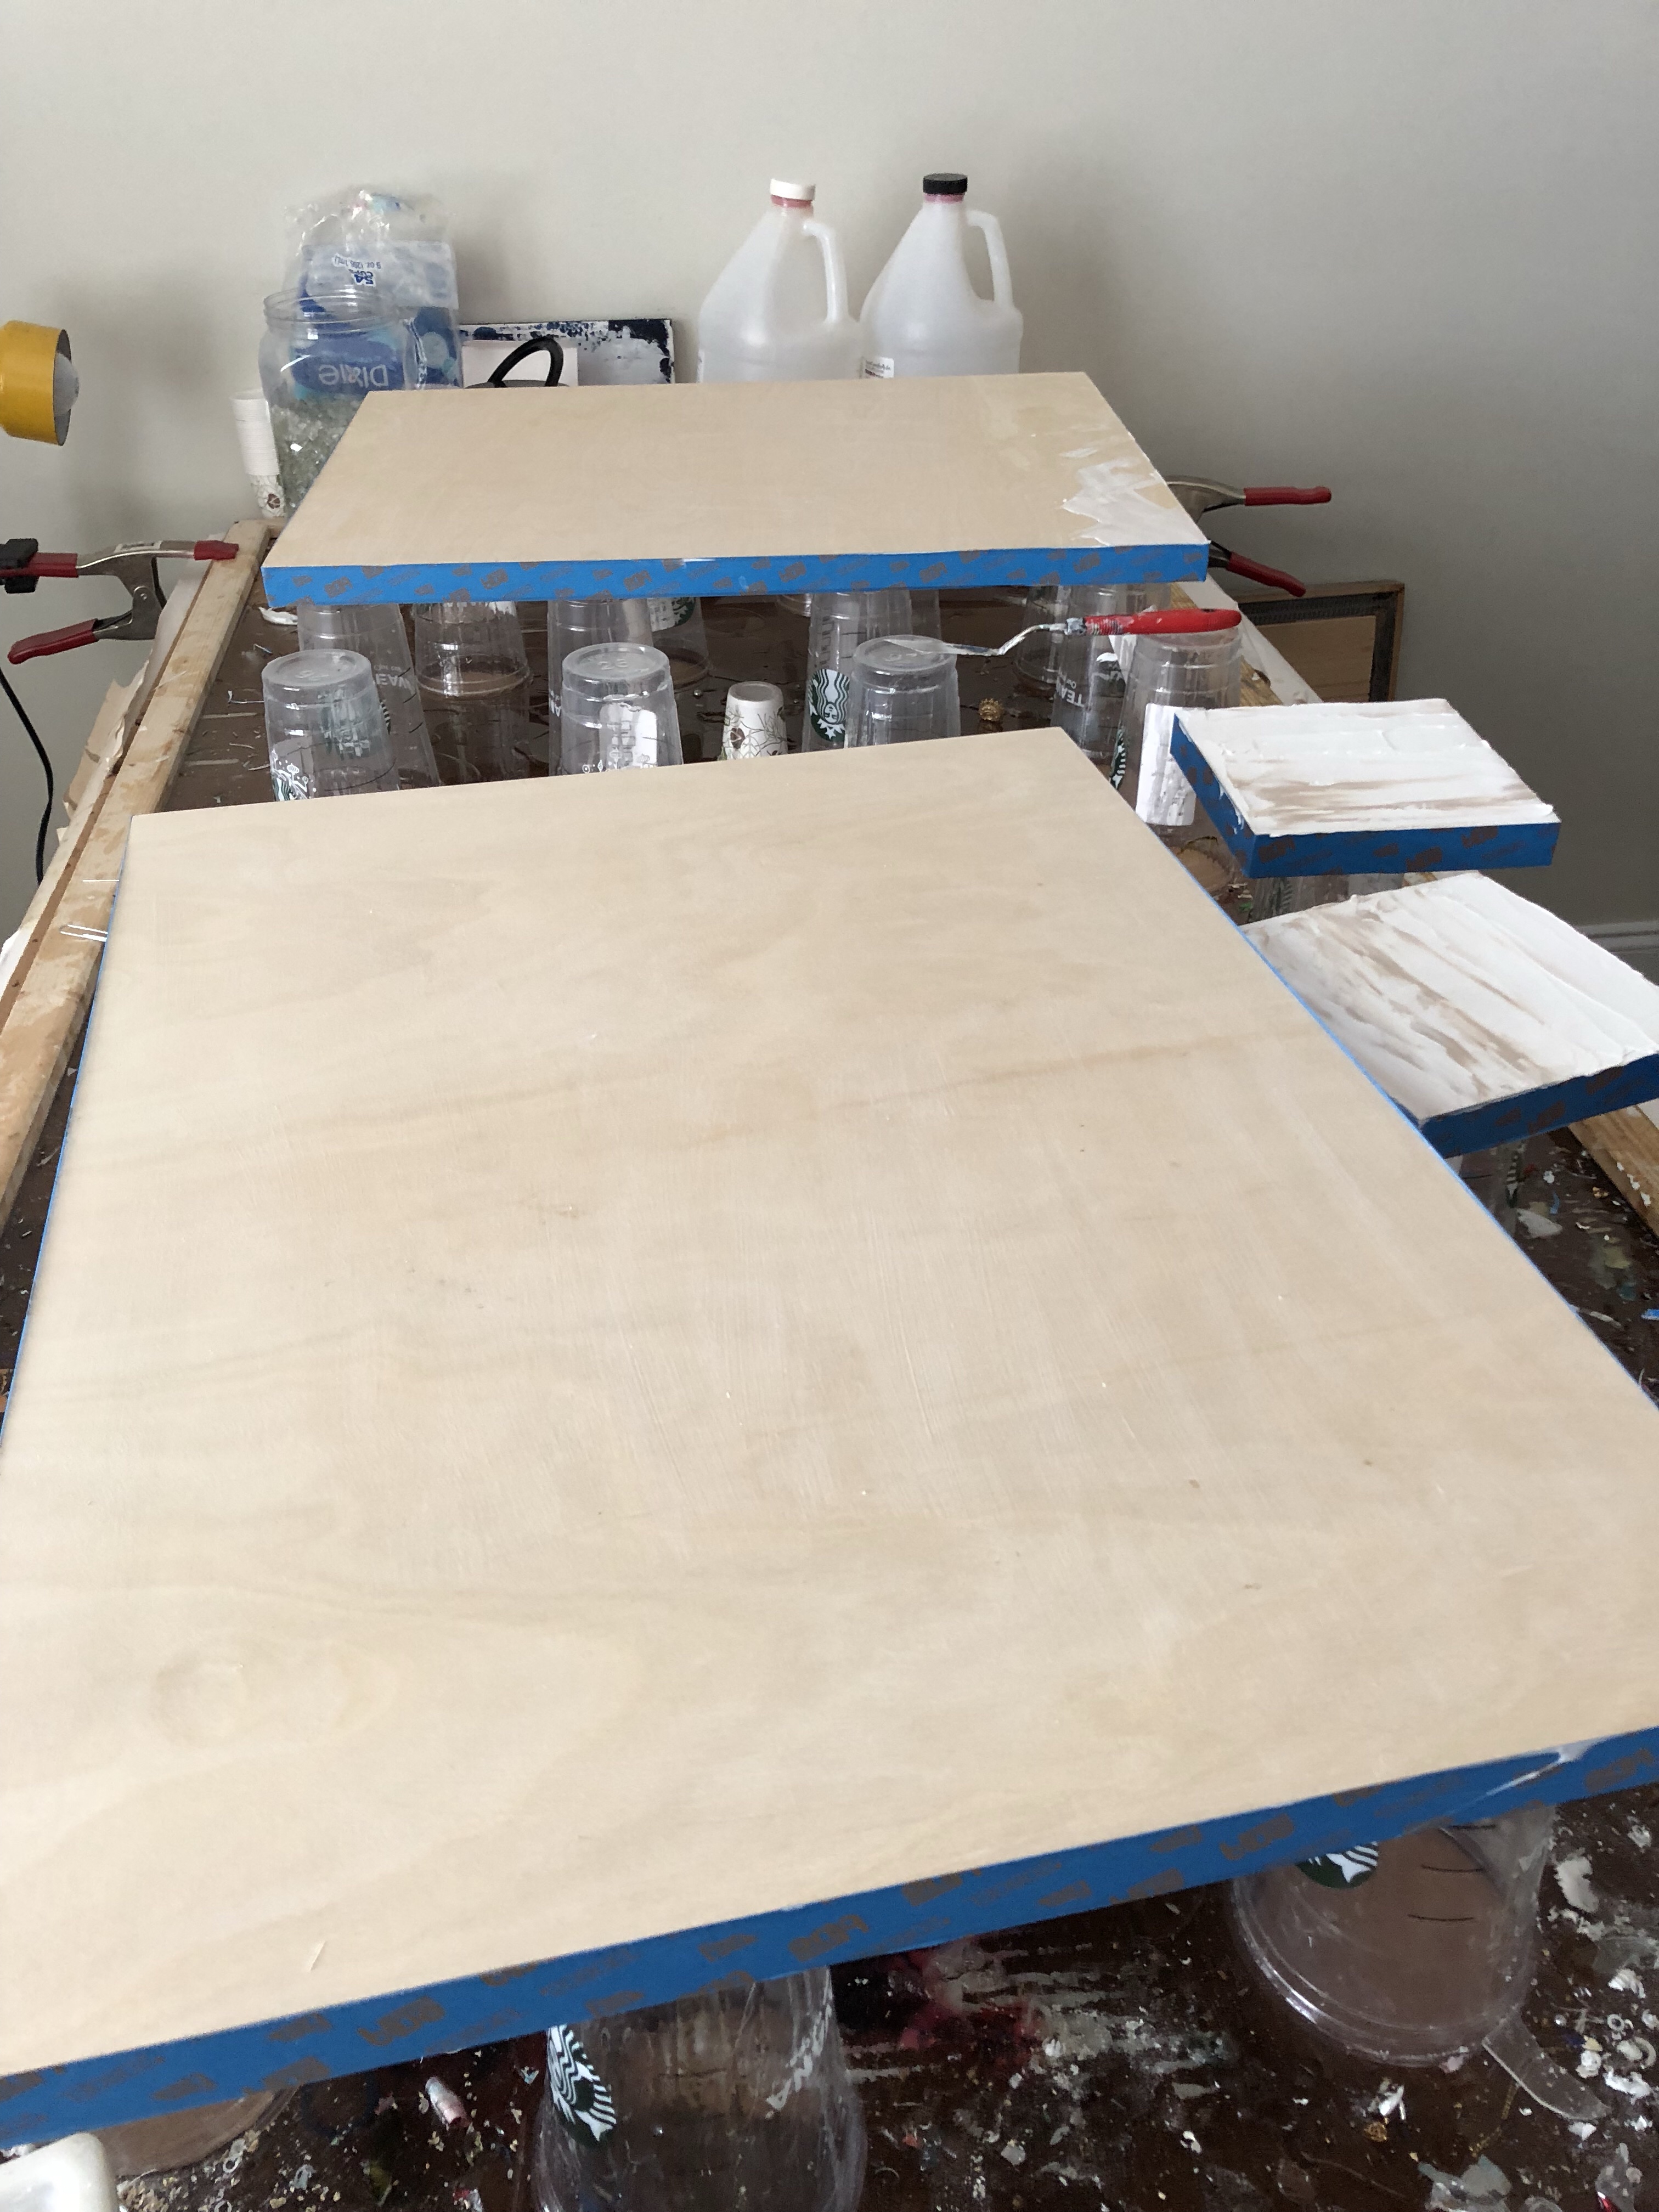
Here is my drying / resin / painting desk. It’s made with empty Starbucks cups and heavy duty cardboard. Hopefully when I’m ready to change the cardboard, it’s not horribly stuck to the desk.

img_5261

At this point, these cups are never coming off of the cardboard. But I’m so happy to have gotten so many uses from them! I’ve got a few canvases on top that I’m working on, and in the top left corner, there are a couple finished angels that I haven’t put away yet.

Against the walls, I have two storage units where I keep all of my materials – paint, glass, old jewelry, canvases and whatever else I am using. I’m kind of neurotic when it comes to the plastic bins. I love storing things away and finding a home for everything. Right now, I’m also storing some finished products in crates on these shelves. I use the crates to move things around for shows, so leaving them in the crates saves a step for me.

And the walls!! I’ve started hanging my art on the walls to save space. Hopefully I sell so much of these I never fill the walls up entirely, but I’m loving having the walls filled up right now.

Here are a few more close ups of my supplies:

Enjoy!!!

Making Birds on a Wire

Recently a friend asked if I would make a painting for an event at the school her kids attend. I don’t know that I’ve ever said no to one of those requests, but this time, I wanted it to be extra, like extra big, extra special, overall extra. My art has changed tremendously over the years, so I wanted this one to be a real statement about what I’m making these days.

I’ll admit, I’m always a little disappointed at the price my paintings go for at these events. I know that the whole idea is to help raise money for the school, and people want to feel like they are getting a deal. That’s how it goes at school auctions. But I am super hopeful that this painting does better than my paintings have done in the past.

This is how I made it:

As expected, I started with a blank canvas. I primarily use Da Vinci wood panels, these are 5/8″ thick. I also love to use the 2 inch thick kind that come already gesso’ed. I have stacks of them in my studio, lots of different sizes.

img_5065

To prep these, I tape the sides, and gesso the surface. Because they will be coated with resin, I make all of my art flat and on top of upside down cups. The cups keep the painting off the desk surface so they don’t stick once the resin is poured. Next I create the base of color. Often, I start with something, then change it, then change it, and sometimes change it again. The ones that change a lot are usually the best ones!

I knew I wanted to create birds on a wire as the painting, so I started with blue as the background. But I didn’t like it at all. I didn’t know how the birds would look with such a dark background and I just really wasn’t feeling the blues. So, I tried some more vibrant colors, bright orange, purple and fuchsia. And after moving these colors around a bit, I was happy with it. You can still see a couple of blue spots peaking through.

Next, I start on the birds.

First I found the glass that I would use. I used blue tinted glass from one of my favorite bottles of wine. I created the wire from some jewelry chain, then placed the glass birds where I wanted them on the chain. Once I was good with the placement and shapes, I painted an outline for the birds. Given the color of the background, I didn’t think they would stand out enough without it. I used a warm gray for the birds. Then I decided they didn’t stand out ENOUGH! So I tried darker blues and those seemed to work nicely.

So now everything is ready for the resin! Before pouring, I sign the painting. Then pour the resin. It will take 24 hours to dry once poured, but I’ll let it sit for longer. Once dry, I peel off the tape, sign the back and add hanging materials.

img_5217

While I was pouring the resin, I realized that you couldn’t see the beaks of the birds. ARGH! I quickly found some blue glass that I thought would do the trick, and added those to the painting. That was a big save, would have been a bummer for it to not really look like I wanted. I finished pouring around 11:30 AM, so it should be good to go by the same time the next day.

Here is the finished product hanging on my studio wall.

Visit my Etsy shop to see more of my art (and more birds!) :

dLynnArt Etsy